
There’s something comforting about making rice krispie treats original recipe. The sweet smell of melted marshmallows fills the kitchen, while the crispy texture creates a delightful crunch.
You can definitely make these treats at home. Don’t worry if they aren’t perfectly shaped; just have fun with it and enjoy the process.
Why This Recipe Works
This rice krispie treats original recipe thrives on the perfect balance of melted butter and marshmallows, creating a gooey base that sticks the cereal together beautifully. The low heat ensures your marshmallows melt smoothly without burning, while gently pressing the mixture into the pan keeps it light and airy, making every bite satisfying. Next, let’s explore some variations to make these treats even more fun!
The One Thing That Makes It Work
- The key to a successful rice krispie treats original recipe lies in the perfect balance of melted butter and marshmallows.
- This combination creates a sticky, gooey mixture that ensures every piece of cereal is fully coated, resulting in a cohesive and satisfying treat.
- Remember to stir continuously while melting to achieve that smooth consistency essential for great texture.
Now that you know what makes this recipe work, let’s explore some tips to enhance your Rice Krispie treat-making experience.
Essential Ingredients
To create the perfect rice krispie treats original recipe, you’ll need these simple yet essential ingredients.
- 3 tablespoons unsalted butter: Melted butter adds richness; ensure it’s unsalted for the best balance of flavors.
- 1 package mini marshmallows: Approximately 10 oz; mini marshmallows melt more easily, resulting in a smooth texture.
- 6 cups Rice Krispies cereal: You can use any crispy rice cereal, but classic Rice Krispies provide the best crunch.
- 1/2 teaspoon vanilla extract (optional): A splash of vanilla enhances the flavor, making your treats even more delightful.
The full ingredients list, including measurements, is provided in the recipe card directly below.
Do This, Not That
- When melting the unsalted butter, do so over low heat to prevent burning; using high heat can lead to a scorched taste.
- For the marshmallows, ensure they are fully melted and smooth, as undercooking them can result in a gritty texture in your treats.
- Lastly, be sure to pack the mixture into the pan firmly but gently; pressing too hard can crush the cereal and affect the final texture.
To ensure your rice krispie treats original recipe is perfect, let’s explore some helpful tips for storage and serving.
Step-by-Step Method
Start by greasing a 9×13 inch baking pan with butter or cooking spray. This will help your rice krispie treats original recipe come out smoothly once they’re set, preventing any sticking.
In a large saucepan over low heat, melt the unsalted butter. Stir it occasionally as it melts, and pay attention to the gentle aroma of the butter as it warms up without burning.
Once the butter is fully melted, add in the mini marshmallows. Keep stirring continuously until they melt down completely into a smooth mixture, which should take about 3-5 minutes. The sweet smell will fill your kitchen.
After removing the saucepan from heat, quickly fold in the Rice Krispies cereal. Use a wooden spoon to mix everything together, making sure each piece of cereal is well coated with the marshmallow mixture.
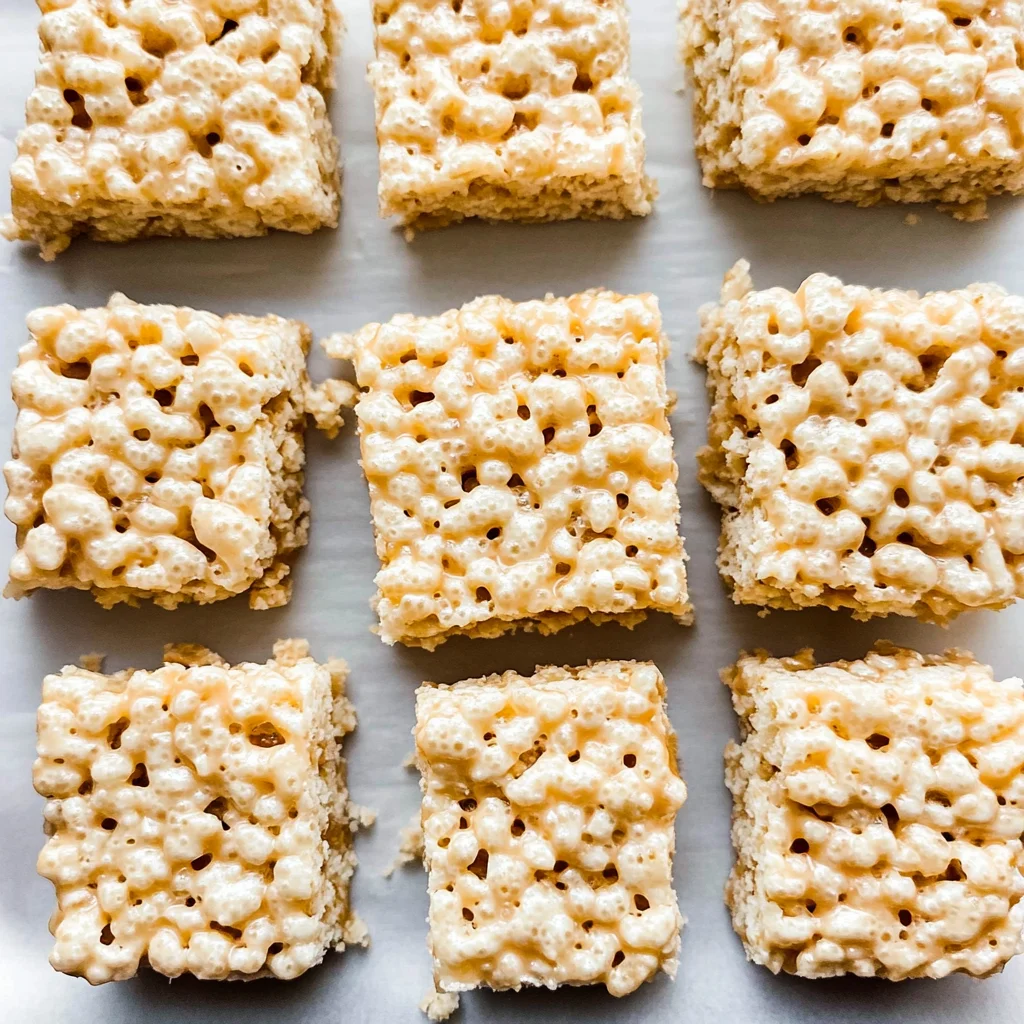
Pour this sticky mixture into your prepared baking pan. With a buttered spatula or lightly greased hands, press it evenly into the pan. Be gentle but firm to avoid crushing the cereal pieces while ensuring it’s packed nicely.
Let the treats cool at room temperature for about 30 minutes. Once they are set, use a butter knife to cut them into squares or rectangles, and enjoy your freshly made rice krispie treats original recipe! Now that you have these treats ready, let’s explore some fun variations you can try next.
Troubleshooting (If Something Goes Wrong)
If your Rice Krispie treats are too sticky, it may be due to excess marshmallows; simply add a bit more cereal to balance. If they crumble when cutting, ensure they were packed firmly enough in the pan. Remember, mistakes happen—adjustments can lead to the perfect batch of rice krispie treats original recipe. Now that we’ve tackled common issues, let’s discuss variations to make these treats even more enjoyable.
Variations You’ll Actually Want to Try

If you’re looking to mix things up with your rice krispie treats original recipe, consider adding a handful of chocolate chips or M&M’s for extra sweetness. You can also incorporate a sprinkle of sea salt on top for a subtle contrast. Feel free to swap in different cereals, like Cocoa Krispies or Fruity Pebbles, for a fun twist.
These easy variations can elevate your treats without much fuss, making each batch feel fresh and exciting. Now that you’ve got the basics down, let’s explore some fun ways to enjoy these classic treats!
Pick Your Flavor Path
- For a spicy twist, add a pinch of cayenne pepper to the melted marshmallow mixture for a surprising kick.
- For a fresh touch, mix in some finely grated lemon zest after melting the marshmallows to brighten up the flavors.
- If you’re feeling cheesy, fold in some grated Parmesan cheese right before combining with the Rice Krispies for an unexpected savory note.
These simple flavor directions can elevate your rice krispie treats original recipe and make them uniquely yours.
FAQ
How long do Rice Krispie treats made from the original recipe last?
Rice Krispie treats can last up to one week when stored in an airtight container.
Can I use a different type of cereal for this original Rice Krispie treats recipe?
Yes, you can substitute with any crispy rice cereal, but the texture may vary slightly.
How should I reheat Rice Krispie treats if they become hard?
To soften, microwave them for about 10-15 seconds, but avoid overheating to prevent melting.
Now that you have all the details about making Rice Krispie treats, let’s explore some fun variations!
Original Rice Krispie Treats
Ingredients
Method
- Grease a 9x13 inch baking pan with butter or cooking spray to prevent the treats from sticking.
- In a large saucepan over low heat, melt the unsalted butter. Stir occasionally to ensure it doesn’t burn.
- Once the butter is melted, add the mini marshmallows to the saucepan. Stir continuously until the marshmallows are completely melted and smooth. This should take about 3-5 minutes.
- If using, stir in the vanilla extract for added flavor.
- Remove the saucepan from heat. Quickly add the Rice Krispies cereal to the melted marshmallow mixture.
- Using a wooden spoon, stir the mixture until all the cereal is evenly coated with the marshmallow mixture. This step is crucial to ensure every piece of cereal is covered.
- Pour the mixture into the prepared baking pan. Using a buttered spatula or your hands (lightly greased), press the mixture evenly into the pan. Make sure to pack it down firmly but gently to avoid crushing the cereal.
- Allow the Rice Krispie treats to cool at room temperature for about 30 minutes.
- Once cooled, use a butter knife to cut them into squares or rectangles. Serve immediately or store in an airtight container.