
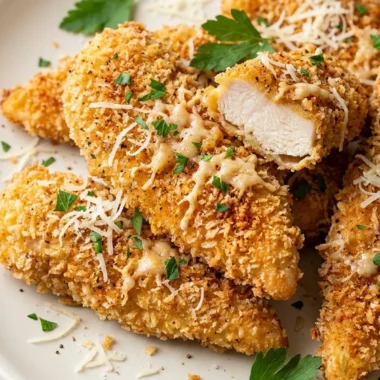
Garlic Parmesan Chicken Tenders are coated in a crisp mixture of Parmesan, panko breadcrumbs, garlic, and Italian seasoning, then baked until golden outside and juicy inside. The Parmesan adds savory depth while the panko creates a light crunch without the need for deep-frying.
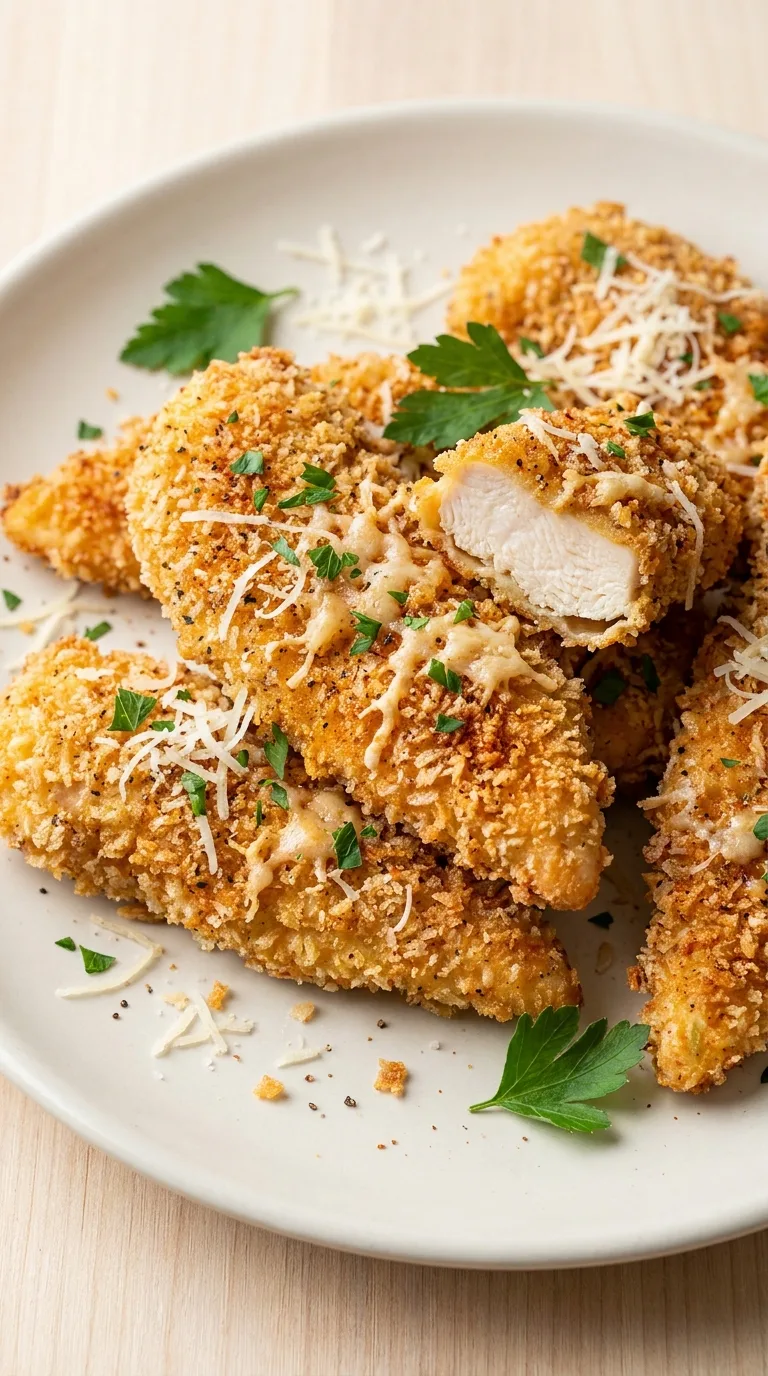
These tenders bake on a wire rack at high heat so hot air can circulate around the coating and help it crisp evenly. They are ready in under 40 minutes and work well as a main dish, appetizer, or easy family dinner.
Recipe at a Glance
- Prep Time: 15 minutes
- Cook Time: 18 minutes
- Additional Time: 5 minutes
- Total Time: 38 minutes
- Yield: About 16 chicken tenders
- Servings: 4
- Difficulty: Easy
Why You'll Love This Recipe
- Panko breadcrumbs create a lighter, crunchier coating than standard fine breadcrumbs.
- Finely grated Parmesan adds saltiness and helps the coating brown in the oven.
- A thin mayonnaise layer helps the breadcrumb mixture adhere while adding moisture to the lean chicken.
- Baking the tenders on a wire rack allows heat to circulate underneath, reducing soggy spots.
- A high oven temperature browns the coating quickly while the chicken cooks to a safe internal temperature.
Equipment Needed
- Large rimmed baking sheet
- Wire rack that fits inside the baking sheet
- Parchment paper or aluminum foil
- 2 shallow bowls
- Tongs
- Pastry brush or spoon
- Instant-read meat thermometer
Ingredients You'll Need
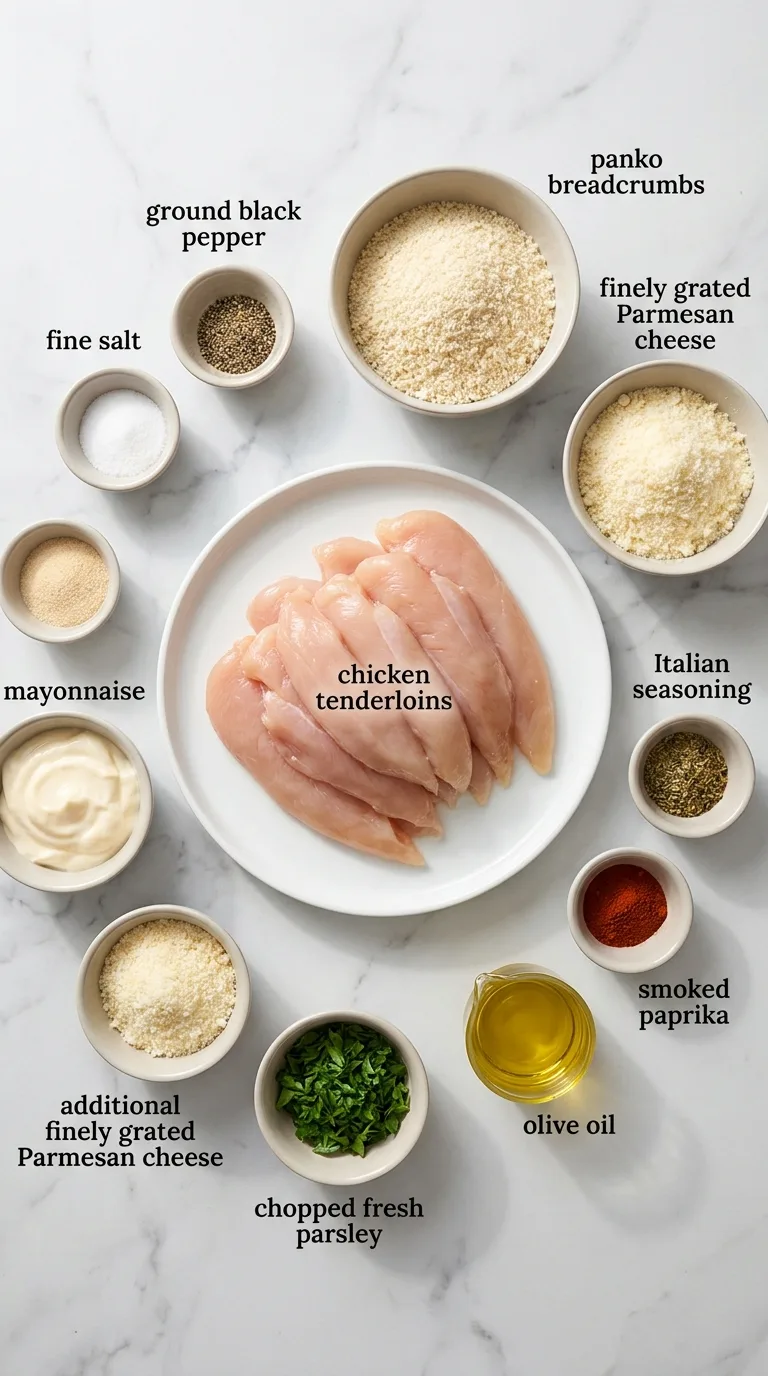
For the Chicken Tenders
- 1 1/2 pounds (680 g) chicken tenderloins, about 14 to 16 pieces
- 1/2 teaspoon fine salt
- 1/4 teaspoon ground black pepper
- 1/3 cup (75 g) mayonnaise
For the Garlic Parmesan Coating
- 1 cup (60 g) panko breadcrumbs
- 3/4 cup (68 g) finely grated Parmesan cheese
- 1 1/2 teaspoons garlic powder
- 1 teaspoon Italian seasoning
- 1/2 teaspoon smoked paprika
- 2 tablespoons (30 ml) olive oil
Optional Garnishes
- 2 tablespoons (8 g) chopped fresh parsley, optional
- 1/4 cup (22 g) additional finely grated Parmesan cheese, optional
- Lemon wedges, optional
How to Make Garlic Parmesan Chicken Tenders
Preheat the Oven
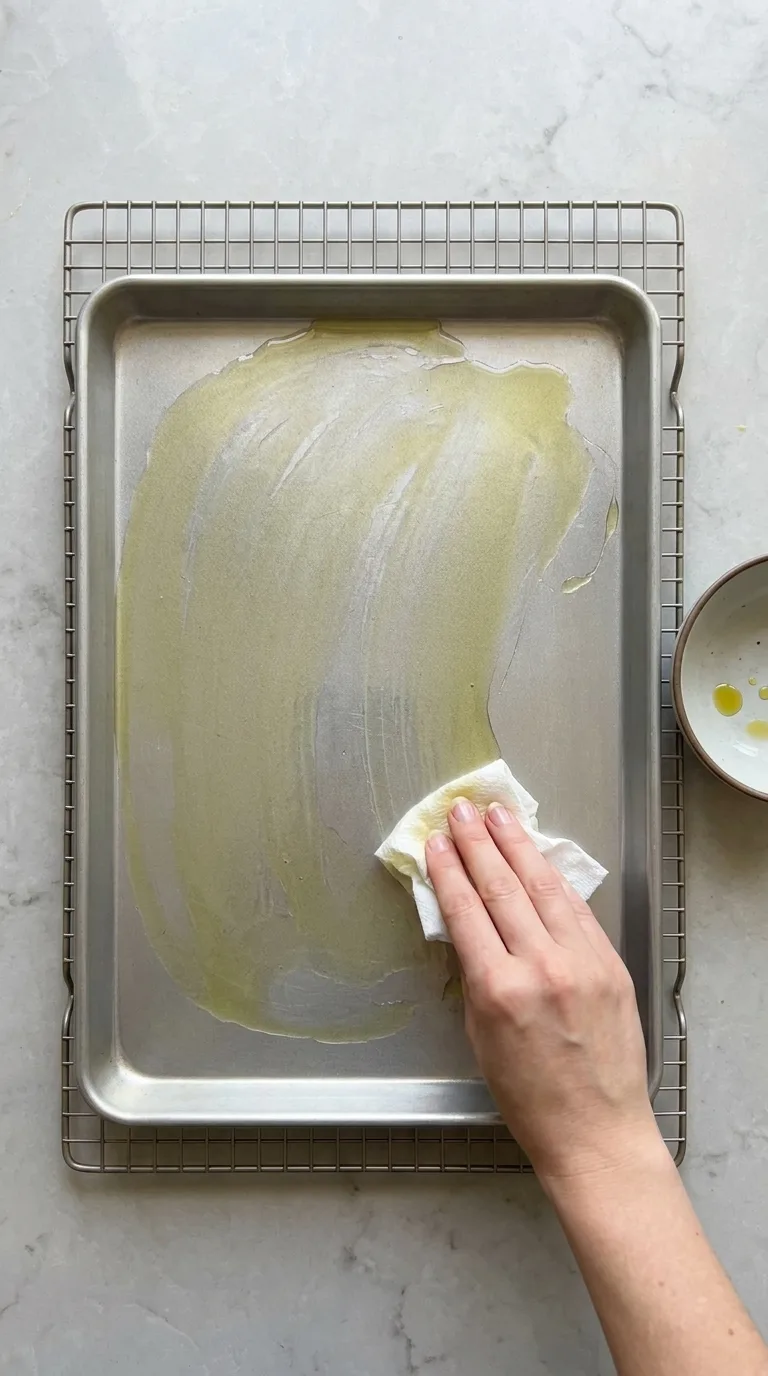
Preheat the oven to 425°F (220°C). Line a large rimmed baking sheet with parchment paper or foil and place a wire rack on top. This setup allows for optimal air circulation, which is key for achieving a crispy coating.
Prepare the Chicken
Pat the chicken tenderloins dry with paper towels. Season evenly with the salt and black pepper. Drying the chicken ensures that the coating adheres well and helps achieve a crispy texture.
Make the Parmesan Coating
In a shallow bowl, combine the panko breadcrumbs, Parmesan, garlic powder, Italian seasoning, and smoked paprika. Mixing these dry ingredients thoroughly ensures an even distribution of flavors across the chicken.
Add the Olive Oil
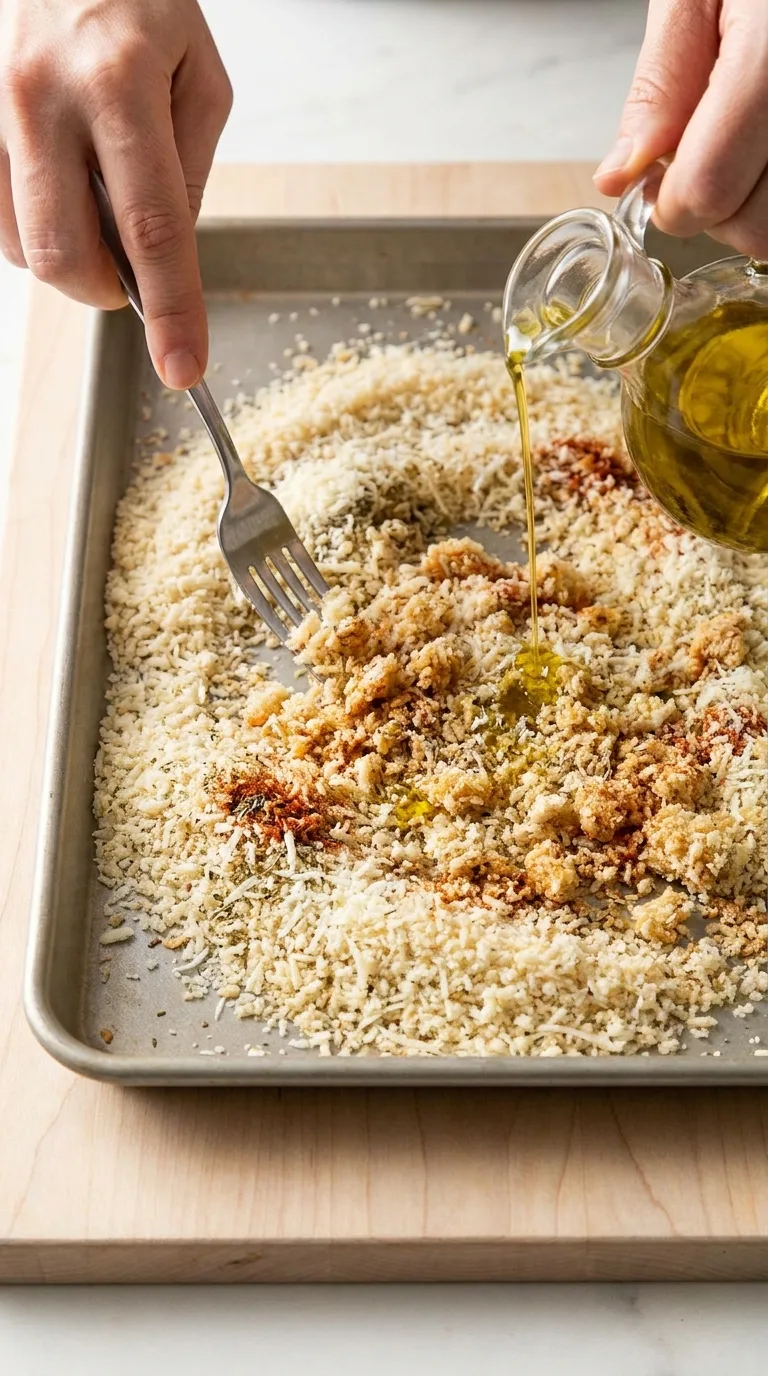
Drizzle the 2 tablespoons (30 ml) olive oil over the breadcrumb mixture and toss thoroughly with a fork. The crumbs should look lightly and evenly moistened rather than wet. This moisture is crucial for achieving a golden, crunchy coating.
Coat with Mayonnaise
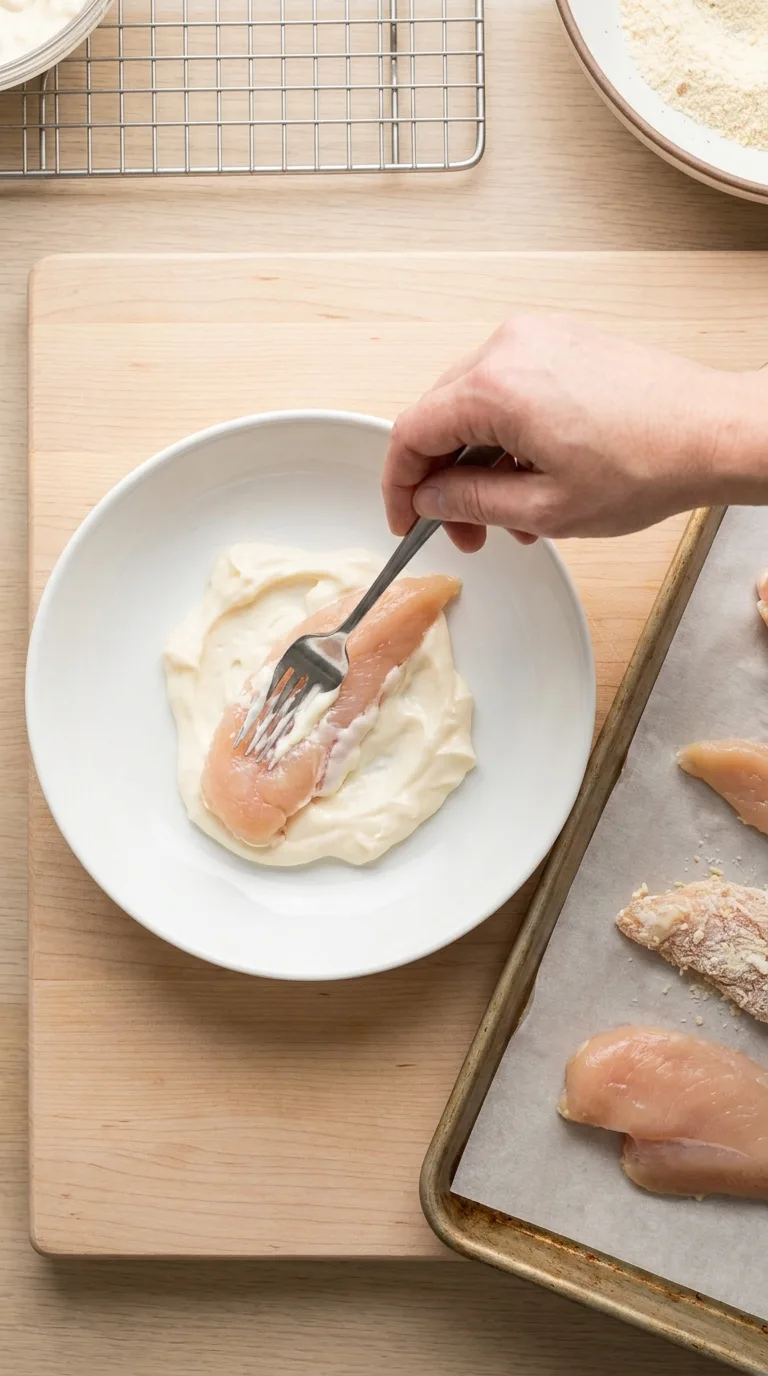
Place the mayonnaise in a second shallow bowl. Coat each chicken tender with a thin, even layer, removing any heavy excess. This layer of mayonnaise not only helps the breadcrumbs stick but also keeps the chicken moist during baking.
Bread the Chicken
Press each mayonnaise-coated tender into the Parmesan-panko mixture, turning and pressing gently so the crumbs adhere to all sides. Ensuring that the coating is well-adhered is essential for a crispy finish.
Arrange on the Rack
Place the coated tenders on the wire rack with a little space between each one. Avoid letting the pieces touch, which can trap steam and soften the breading. Proper spacing allows for even cooking and crisping.
Bake the First Side
Bake at 425°F (220°C) for 9 minutes. The coating should begin to look dry and lightly golden. This initial baking helps set the coating before flipping.
Turn the Tenders
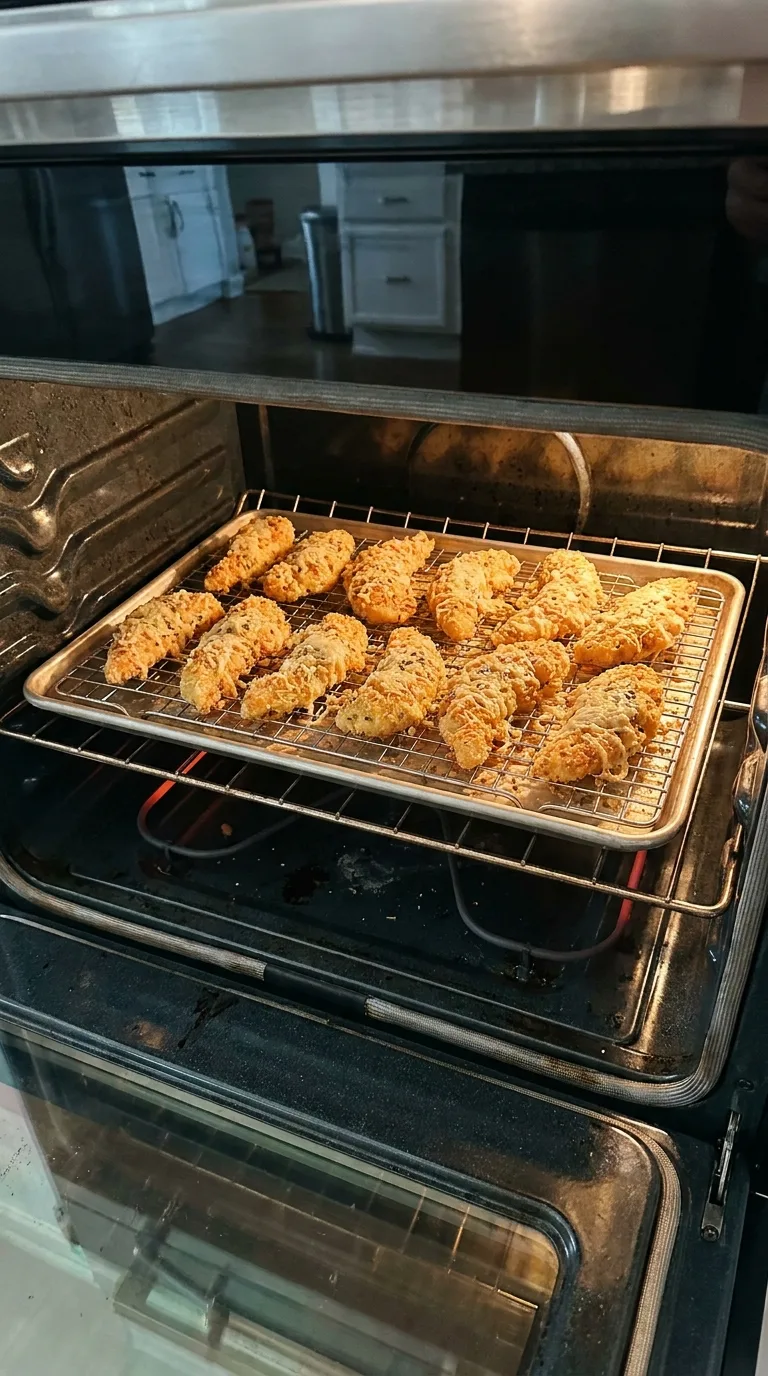
Carefully flip each tender with tongs. Return the pan to the oven. Flipping allows both sides to brown evenly, contributing to a uniform texture.
Finish Baking
Bake for another 7 to 9 minutes, depending on thickness. The coating should be golden brown with crisp edges. This final baking ensures the chicken is cooked through and the coating is perfectly crisp.
Check for Doneness
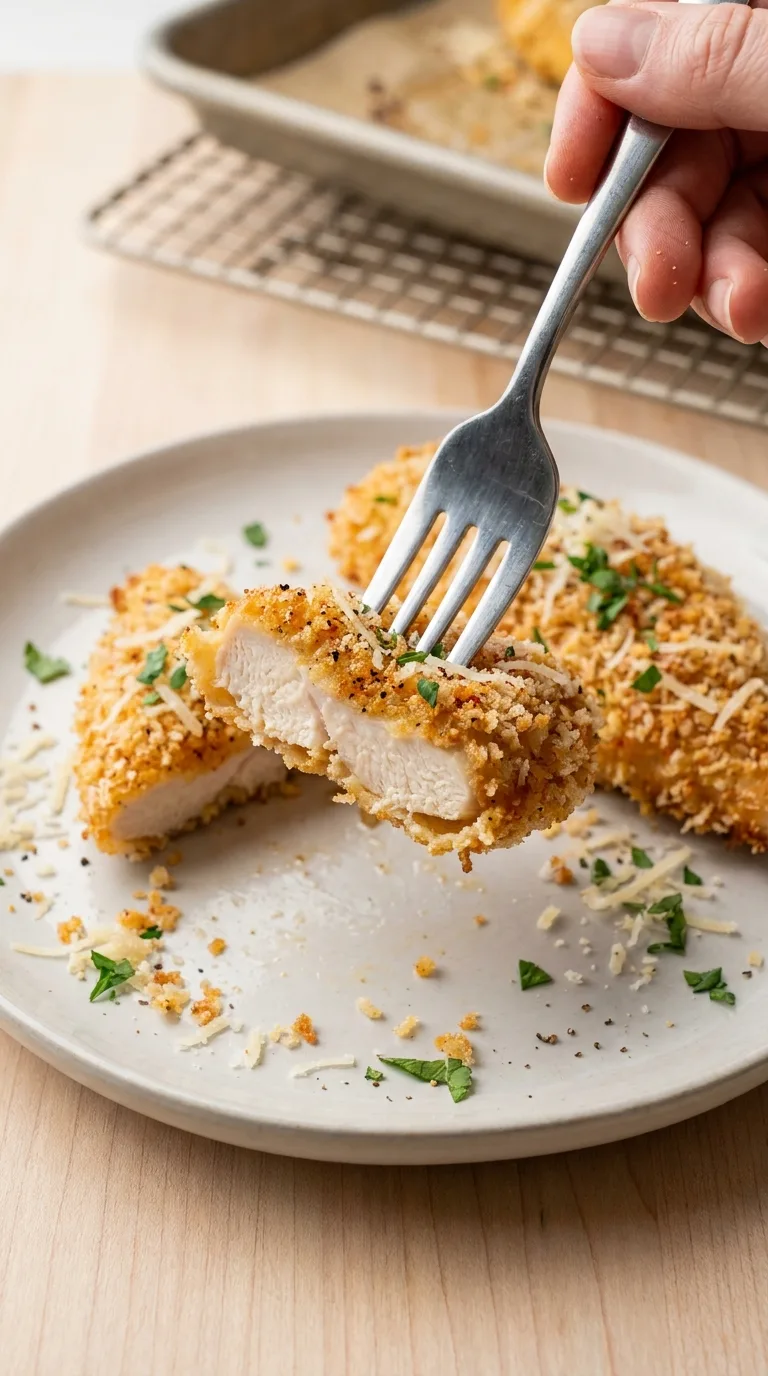
Insert an instant-read thermometer into the thickest part of a tender. The chicken must reach 165°F (74°C). This step is crucial for food safety and ensures the chicken is juicy and tender.
Rest Briefly
Remove the tenders from the oven and let them rest on the rack for 5 minutes. The coating will firm slightly as it cools. Resting allows the juices to redistribute, enhancing the overall flavor and texture.
Garnish and Serve
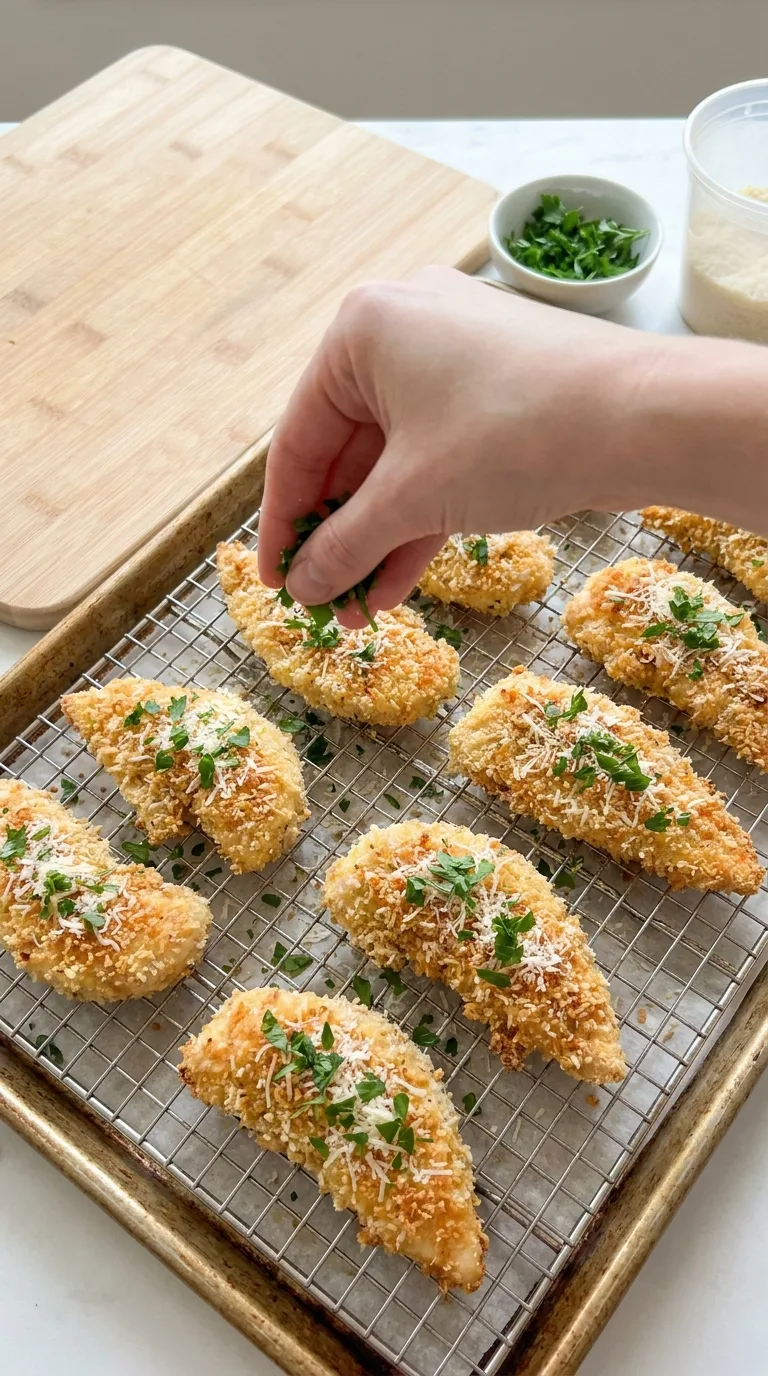
Sprinkle with optional parsley and additional Parmesan. Serve with lemon wedges if desired. These garnishes add a fresh touch and enhance the presentation of the dish.
Tips for Success
- Use finely grated Parmesan rather than large shreds, which can melt unevenly and fall away from the coating.
- Do not overapply the mayonnaise; a thin layer is enough to hold the crumbs.
- Leave space between the tenders so the coating crisps instead of steaming.
- Use a wire rack when possible for more even browning on the underside.
Storage, Freezing, and Make-Ahead Instructions
Cool leftover Garlic Parmesan Chicken Tenders promptly and refrigerate them in an airtight container within 2 hours. Store for up to 4 days.
For the crispest reheating, place the tenders on a baking sheet and warm at 375°F (190°C) for about 8 to 10 minutes, or until they reach 165°F (74°C). An air fryer can also be used at 375°F (190°C) for approximately 4 to 6 minutes.
Cooked tenders can be frozen for up to 2 months. Cool completely, freeze in a single layer until firm, then transfer to a freezer-safe container with parchment between layers. Reheat from frozen in a 375°F (190°C) oven until hot and crisp.
For make-ahead preparation, mix the dry Parmesan-panko coating up to 2 days ahead and store it in an airtight container. Coat the raw chicken shortly before baking so the breading does not become soggy.
FAQ
Can I make Garlic Parmesan Chicken Tenders in an air fryer?
Yes. Arrange the coated tenders in a single layer and air-fry at 400°F (205°C) for about 9 to 12 minutes, turning halfway through. Cook in batches if needed and confirm the chicken reaches 165°F (74°C).
Can I use chicken breasts instead of tenderloins?
Yes. Cut boneless, skinless chicken breasts into strips about 1 inch (2.5 cm) thick. Keep the pieces similar in size so they cook evenly.
Why isn't my coating crispy?
The chicken may have been placed directly on a flat pan, crowded too closely, or coated with too much mayonnaise. A wire rack, adequate spacing, and a thin mayonnaise layer help the exterior crisp.
Can I use regular breadcrumbs?
Yes. Substitute 1 cup (about 110 g) standard dry breadcrumbs for the panko. The coating will be finer and less airy but will still brown well.
What can I serve with Garlic Parmesan Chicken Tenders?
They pair well with roasted potatoes, pasta, salad, steamed vegetables, coleslaw, or garlic bread. Marinara, ranch, honey mustard, or a simple lemon-garlic dipping sauce also work well.
Garlic Parmesan Chicken Tenders
Ingredients
For the Chicken Tenders
- 1 1/2 pounds chicken tenderloins about 14 to 16 pieces
- 1/2 teaspoon fine salt
- 1/4 teaspoon ground black pepper
- 1/3 cup mayonnaise
For the Garlic Parmesan Coating
- 1 cup panko breadcrumbs
- 3/4 cup finely grated Parmesan cheese
- 1 1/2 teaspoons garlic powder
- 1 teaspoon Italian seasoning
- 1/2 teaspoon smoked paprika
- 2 tablespoons olive oil
Optional Garnishes
- 2 tablespoons chopped fresh parsley optional
- 1/4 cup additional finely grated Parmesan cheese optional
- Lemon wedges optional
Instructions
Method
- Preheat the oven to 425°F (220°C). Line a large rimmed baking sheet with parchment paper or foil and place a wire rack on top.
- Pat the chicken tenderloins dry with paper towels: Season evenly with the salt and black pepper.
- In a shallow bowl, combine the panko breadcrumbs, Parmesan, garlic powder, Italian seasoning, and smoked paprika.
- Drizzle the 2 tablespoons (30 ml) olive oil over the breadcrumb mixture and toss thoroughly with a fork. The crumbs should look lightly and evenly moistened rather than wet.
- Place the mayonnaise in a second shallow bowl: Coat each chicken tender with a thin, even layer, removing any heavy excess.
- Press each mayonnaise-coated tender into the Parmesan-panko mixture, turning and pressing gently so the crumbs adhere to all sides.
- Place the coated tenders on the wire rack with a little space between each one. Avoid letting the pieces touch, which can trap steam and soften the breading.
- Bake at 425°F (220°C) for 9 minutes. The coating should begin to look dry and lightly golden.
- Carefully flip each tender with tongs: Return the pan to the oven.
- Bake for another 7 to 9 minutes, depending on thickness. The coating should be golden brown with crisp edges.
- Insert an instant-read thermometer into the thickest part of a tender. The chicken must reach 165°F (74°C).
- Remove the tenders from the oven and let them rest on the rack for 5 minutes. The coating will firm slightly as it cools.
- Sprinkle with optional parsley and additional Parmesan: Serve with lemon wedges if desired.



Pingback: Beef Stir Fry with Ramen Noodles
Pingback: Satisfying High-Protein Canned Tuna Bowl Recipe to Try
Pingback: Amazing Cajun Shrimp and Sausage Pasta for a Delicious Feast
Pingback: Amazing Sausage and Peppers for a Mouthwatering Feast
Pingback: Incredible Meatloaf with Mashed Potatoes and Cheese Bliss
Pingback: Amazing Creamy Pepperoncini Chicken Skillet Delightfully Comforting
Pingback: Amazing Slow Cooker Asian Short Ribs for Irresistible Flavor
Pingback: Amazing Kung Pao Chicken Bowls for a Delicious Dinner
Pingback: Amazing Chicken Burrito Bowl: A Mouthwatering Delight