
When you think of breakfast, do you picture fluffy pancakes or sizzling bacon? Well, let me introduce you to the culinary magic that is Red Velvet Marble Waffles. Imagine sinking your teeth into a warm waffle with a hint of cocoa and a swirl of cream cheese goodness. unique breakfast cookies The rich, velvety texture dances on your palate while the enticing aroma fills your kitchen. It’s like a cozy hug for your taste buds.
These waffles are perfect for special occasions, lazy Sundays, or when you simply want to impress someone with your culinary prowess. Picture serving these beauties at brunch and watching everyone’s eyes light up in delight. Trust me, once you experience these waffles, you’ll be counting down the days until you can make them again.
[info_box title=”Why You’ll Love This Recipe”] Red Velvet Marble Waffles are incredibly easy to whip up, making breakfast fun and stress-free. They boast a rich flavor profile that balances sweetness with a slight cocoa kick. Visually stunning with their vibrant red hue and creamy swirls, they’re sure to wow guests. These waffles are versatile enough to serve with fresh fruits or whipped cream for an even more delightful experience.[/info_box]
Sharing this recipe with my friends at brunch resulted in oohs and aahs as they took their first bites—nothing beats the joy of seeing loved ones enjoy something you’ve made.
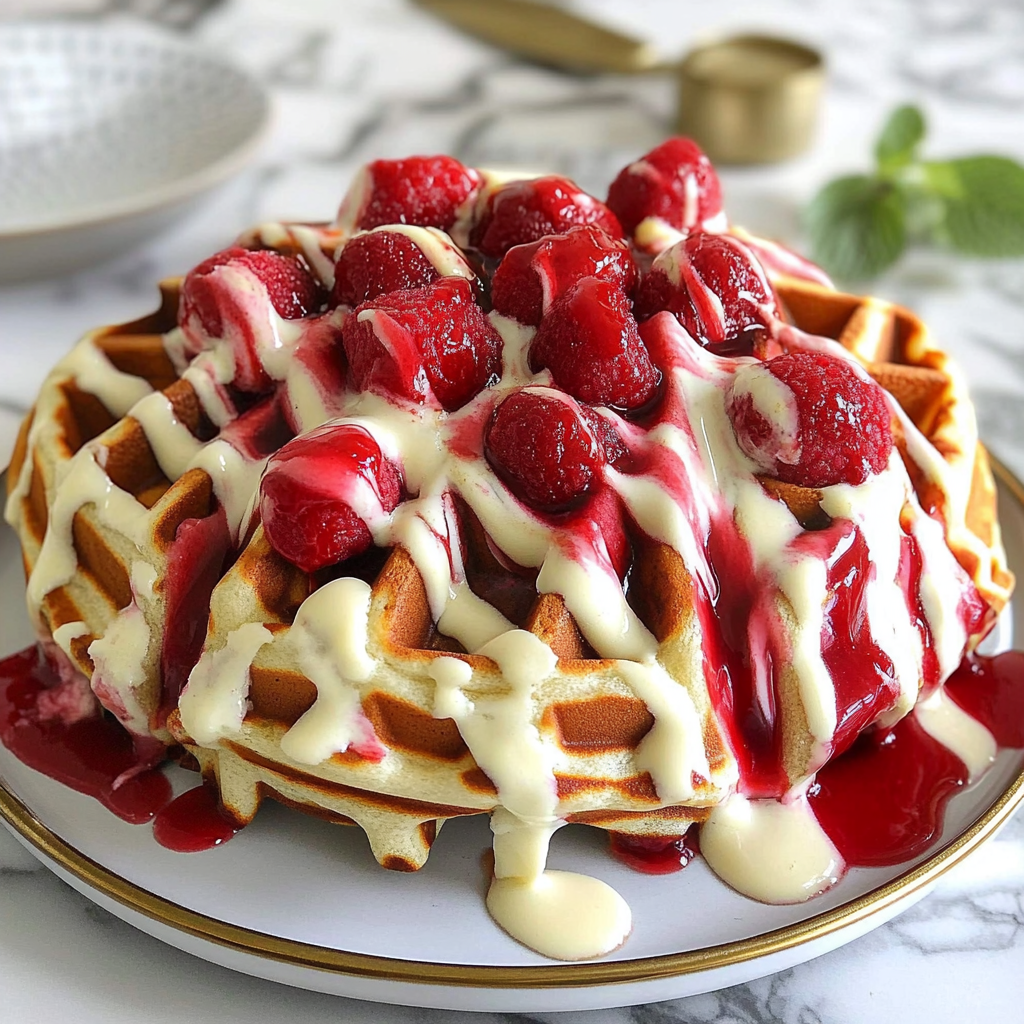
Essential Ingredients
Here’s what you’ll need to make this delicious dish: delicious dessert option.
- All-Purpose Flour: The base for our waffles; ensure it’s fresh for optimal rise and texture.
- Cocoa Powder: Use unsweetened cocoa powder for that deep chocolate flavor without added sweetness.
- Granulated Sugar: Sweeten to your liking; it complements the cocoa beautifully.
- Baking Powder: This helps our waffles rise; don’t skip it unless you want flat pancakes instead.
- Buttermilk: Adds moisture and tang; you can substitute regular milk mixed with vinegar if needed.
- Eggs: Bind everything together; room temperature eggs work best for fluffy results.
- Vegetable Oil: Keeps the waffles moist; melted butter is also an excellent alternative for extra richness.
- Red Food Coloring: Gives those iconic red velvet vibes; use gel coloring for more vibrancy without altering consistency.
- Cream Cheese: For the marble effect; soften it before mixing for the smoothest texture. tasty cream-filled treats.
The full ingredients list, including measurements, is provided in the recipe card directly below.
Let’s Make it Together
Prepare Your Waffle Iron: Preheat your waffle iron according to the manufacturer’s instructions while gathering all ingredients. A hot iron ensures crispy edges while keeping the inside fluffy.
Mix Dry Ingredients: In a large mixing bowl, whisk together flour, cocoa powder, sugar, baking powder, and salt until well combined. The aroma should already hint at deliciousness.
Combine Wet Ingredients: In another bowl, mix buttermilk, eggs, vegetable oil, and food coloring until smooth and vibrant. This mixture should look like pure happiness in liquid form.
Combine Mixtures: Gradually add the wet ingredients to the dry ones while stirring gently just until combined. Be careful not to overmix; we want airy waffles!
Create Cream Cheese Swirl: In a small bowl, mix softened cream cheese with a splash of milk until smooth. You want it pourable yet still thick enough for a beautiful swirl.
Cook Waffles: Pour half of the batter into the preheated waffle iron. Then drizzle some cream cheese mixture over before adding more batter on top. Close lid and cook according to your iron’s instructions—usually about 3-5 minutes—until golden brown.
Serve immediately with maple syrup or whipped cream on top—and prepare for applause!
Now you’ve got a breakfast item that might just steal the show at any brunch table!
[info_box title=”You Must Know”] The secret behind Red Velvet Marble Waffles is in the batter. Ensure your ingredients are at room temperature for the fluffiest results. Also, don’t rush the cooking process; a perfectly cooked waffle is crisp on the outside and tender inside. [/info_box]
Perfecting the Cooking Process
Start with your waffle iron preheated to medium-high heat. Mix both batters separately, then swirl them together. Pour onto the hot iron and cook until golden brown, ensuring each side gets that perfect crispy finish.

Add Your Touch
Feel free to swap buttermilk with regular milk or use almond milk for a dairy-free version. Add chocolate chips or nuts for an extra crunch, and let your creativity run wild!
Storing & Reheating
Store leftover waffles in an airtight container in the fridge for up to three days. To reheat, pop them in a toaster or an oven at 350°F until warm and crispy again.
[info_box title=”Chef’s Helpful Tips”] For perfect waffles, ensure your batter isn’t too thick; it should flow easily. Letting the batter rest for 5-10 minutes helps create airy waffles. Also, avoid opening the waffle maker too soon to keep them from sticking! [/info_box]
Sometimes I think back to that one Sunday brunch when my friends declared these waffles better than any restaurant’s! Their smiles as they devoured them made all those spills worth it.
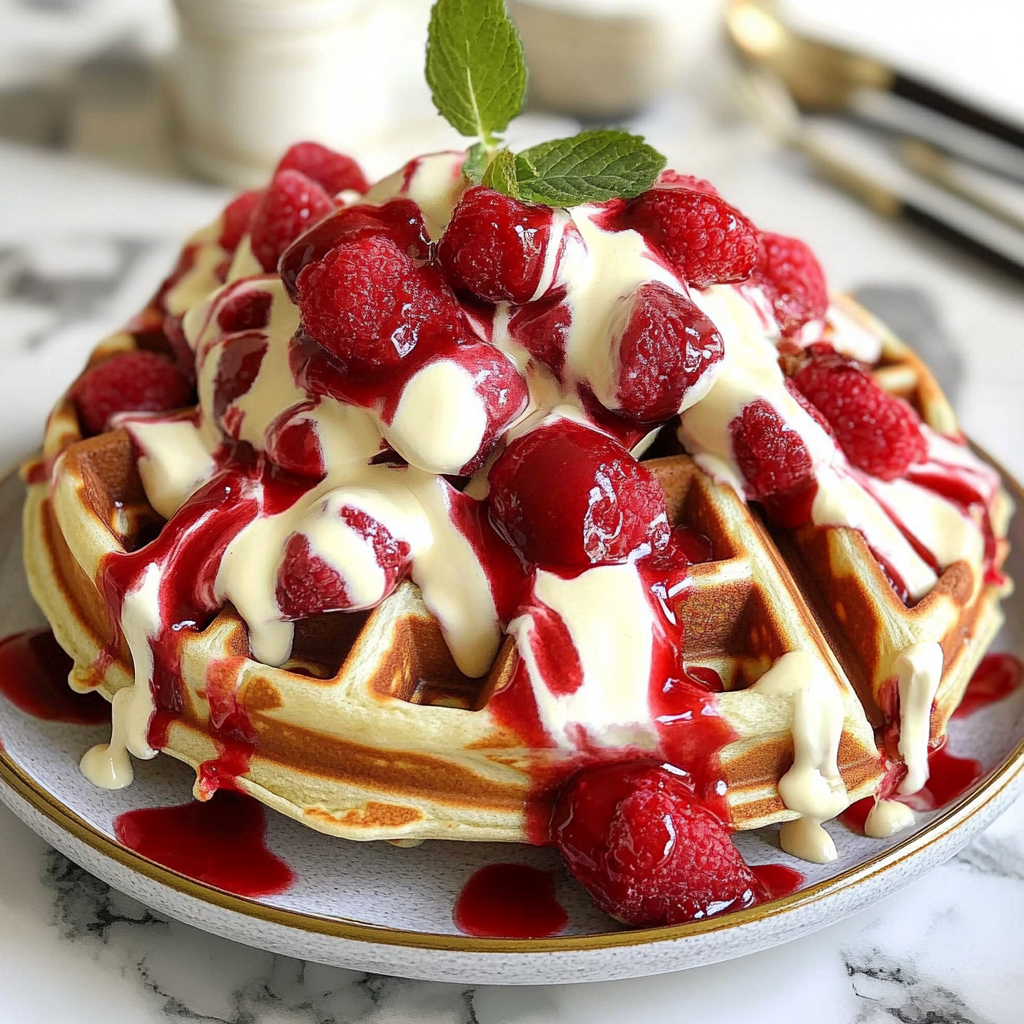
FAQ
Can I make Red Red Velvet Waffles ahead of time?
Yes, you can prepare the batter the night before and refrigerate it.
What toppings go well with Red Velvet Marble Waffles?
For more inspiration, check out this Berry Tartlets recipe.
Cream cheese frosting, whipped cream, or fresh berries pair wonderfully with these waffles. fluffy cinnamon rolls.
How do I know when my waffles are done cooking?
Waffles are ready when they steam stops coming out and they turn golden brown.