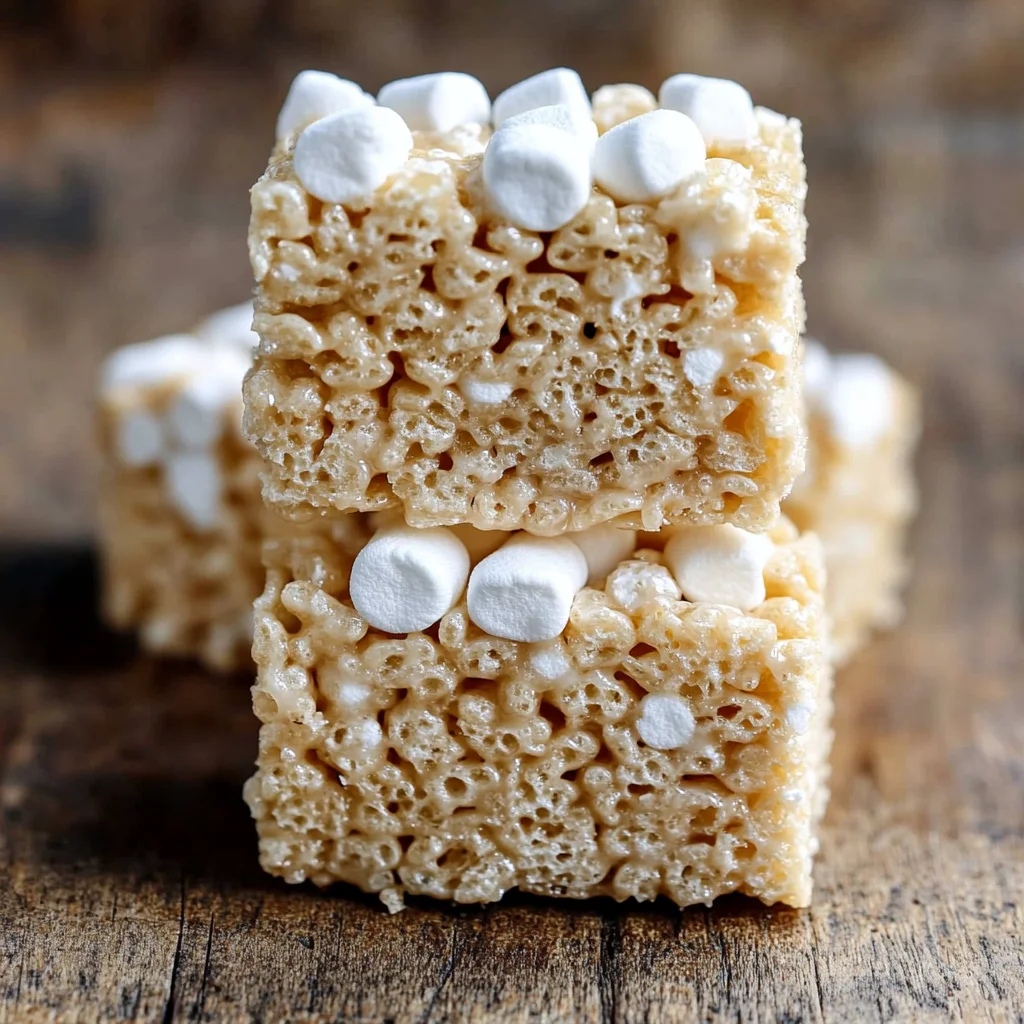
Imagine the delightful aroma of buttery sweetness wafting through your kitchen as you prepare mini marshmallows rice krispie treats. The moment you melt those mini marshmallows until they become a gooey, velvety mixture, you’ll be transported back to childhood memories filled with laughter and joy. Each bite offers a satisfying crunch from the Rice Krispies cereal, perfectly balanced with a touch of salt that elevates the sweetness in a way that feels both nostalgic and comforting.
As you gather around to enjoy these treats, you’ll find that this recipe is not only incredibly simple but also brings people together. Whether it’s a cozy family gathering or a fun playdate, the anticipation of biting into these chewy squares makes for moments worth sharing. Trust me; you’ll want to stick around for this one—it’s rewarding in more ways than one!
Why You'll Love This Recipe
- You’ll love these mini marshmallows rice krispie treats for their quick and easy preparation, making them perfect for any occasion.
- The delightful combination of buttery marshmallows and crispy cereal creates a sweet flavor that’s simply irresistible.
- Their charming, fluffy appearance is sure to catch the eye and impress friends and family alike.
- Plus, you can easily customize them with fun mix-ins or toppings to suit your taste preferences.
As I pulled the mini marshmallows rice krispie treats from the pan, my kids rushed over, their eyes wide with excitement. Watching them devour each square, giggling and sticky-fingered, reminded me why these treats are a family favorite.
Essential Ingredients
For perfect mini marshmallows rice krispie treats, you’ll need a few simple ingredients that come together for a delightful treat.
3 tablespoons unsalted butter: Cut into pieces for easy melting, this butter adds richness and helps bind the ingredients together.
1 package mini marshmallows: Approximately 10 ounces of mini marshmallows create a gooey texture and sweetness; they melt beautifully into the mixture.
6 cups Rice Krispies cereal: Use Rice Krispies or any crispy rice cereal to achieve that satisfying crunch in each bite.
1/2 teaspoon vanilla extract: This ingredient enhances the overall flavor, adding a subtle warmth to your treats.
1/4 teaspoon salt: A small amount of salt balances the sweetness of the marshmallows, making the treats even more delicious.
The full ingredients list, including measurements, is provided in the recipe card directly below.
Let’s Make It Together
Step 1: Prepare the Baking Dish:First things first, let’s prepare our 9×9 inch baking dish. Line it with parchment paper, making sure to leave some overhang on the sides. This little trick not only makes for easy lifting later but also adds a rustic touch to your mini marshmallows rice krispie treats.
Step 2: Melt the Butter and Marshmallows:In a large saucepan over low heat, add the 3 tablespoons of unsalted butter cut into pieces. As the butter melts, you’ll start to smell that rich, creamy aroma. Stir occasionally to prevent burning—this step should take about 1-2 minutes. Once melted, toss in the entire package of mini marshmallows (approximately 10 ounces). Keep stirring until everything is melted and smooth, which should take about 3-5 minutes. The mixture will transform into a glossy, gooey delight! Remove from heat and stir in 1/2 teaspoon of vanilla extract and 1/4 teaspoon of salt for that perfect balance of sweetness.
Step 3: Combine with Rice Krispies:Now for the fun part! Pour in the 6 cups of Rice Krispies cereal into your melted marshmallow mixture. Gently fold them together until every piece is coated with that sticky goodness. Be careful not to crush the cereal—this mix should feel light and airy as you stir! A personal tip: using a silicone spatula can make this step easier, as they’re great at getting every last bit from the pan.
Step 4: Transfer to Baking Dish:Once everything is well combined, pour the mixture into your prepared baking dish. Using a spatula or lightly greased hands, press it down evenly into the dish—aim for a compact layer to ensure perfect cutting later on. You’ll enjoy that satisfying squish as you press it down!
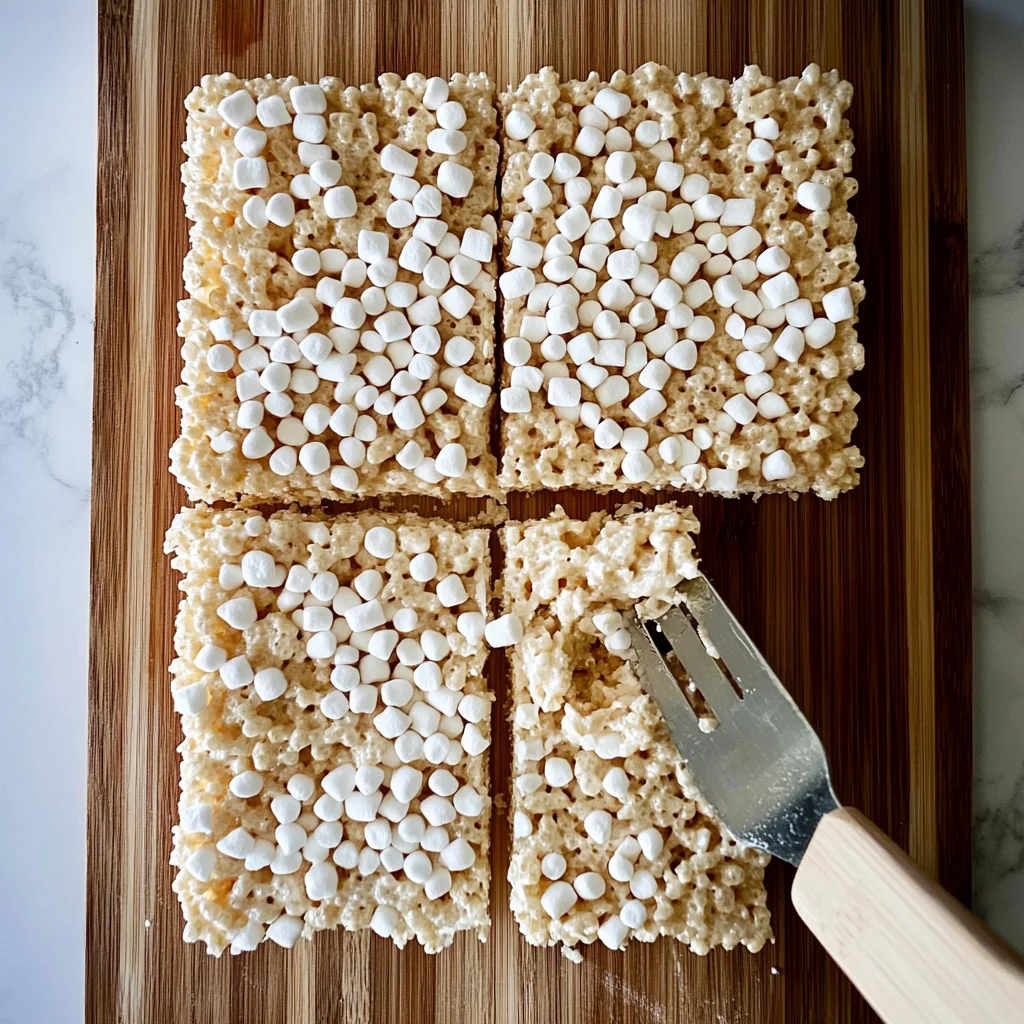
Step 5: Cool and Cut:Let your mini marshmallows rice krispie treats cool at room temperature for about 30 minutes. You’ll know they’re ready when they feel set but still slightly tacky to the touch. Once cooled, carefully lift them out using the parchment overhang and place them on a cutting board. Use a sharp knife to cut them into 12 squares or rectangles; wiping the knife with a damp cloth between cuts helps avoid any sticky mess.
Now that you’ve mastered these delightful treats, let’s explore some creative ways to enjoy or customize them!
You Must Know
- For perfectly gooey mini marshmallows rice krispie treats, ensure your butter is melted slowly over low heat to avoid burning, preserving the treats’ texture and flavor.
- When adding the Rice Krispies, work gently to coat every piece without crushing them; this keeps the treats light and airy, which is key to their delightful crunch.
- Allowing the treats to cool for about 30 minutes before cutting is crucial; this step helps them set properly, making it easier to achieve clean, even squares.
These tips will help you master the art of making mini marshmallows rice krispie treats effortlessly!
Add Your Touch
Get creative with your mini marshmallows Rice Krispie treats! Consider adding a handful of chocolate chips or peanut butter chips for a delightful twist. For a fruity flavor, mix in some dried cranberries or mini M&Ms. You can also experiment with flavored extracts like almond or coconut instead of vanilla to enhance the taste further. Feel free to adjust the salt for a savory contrast, or sprinkle some sea salt on top for an extra touch. Embrace your creativity and tailor the recipe to match your taste preferences!
Now that you’ve personalized your treats, let’s explore the perfect way to store them.
Storing & Serving
To keep your mini marshmallows Rice Krispie treats fresh, store them in an airtight container at room temperature for up to 3 days. For longer storage, you can refrigerate them for up to a week, but this may alter their texture slightly. When serving, cut the treats into squares or rectangles and enjoy them as a delightful snack or dessert at any gathering. Next, let’s explore some fun variations you can try with this classic recipe!
Chef's Helpful Tips
- 1. Use Low Heat for Melting: When melting the butter and mini marshmallows, keep the heat low and stir constantly. This prevents burning and ensures a smooth, creamy mixture, which is crucial for perfect mini marshmallows rice krispie treats.
- Compact Your Mixture: After pouring the cereal mixture into the baking dish, pressing it down firmly helps create dense treats that hold together better. Use a greased spatula or your hands to ensure even compression.
- Cool Completely Before Cutting: Allow your treats to cool at room temperature for at least 30 minutes before cutting. This step allows them to set properly, making them easier to slice into neat squares or rectangles without falling apart.
With these tips in hand, you’re ready to tackle the delightful process of making mini marshmallows rice krispie treats with confidence and ease!
As I watched my kids’ faces light up with joy over the mini marshmallows rice krispie treats, I realized that such simple pleasures truly create the sweetest memories.
How to Know It’s Done Perfectly
Your mini marshmallows rice krispie treats should be golden and glossy, with a slightly sticky surface. When you press them down, they should feel compact yet soft, effortlessly holding their shape. The aroma of buttery marshmallows will fill your kitchen, assuring you that they’re ready to be enjoyed. Remember, slight variations in texture and sweetness are perfectly normal!
Now that you know how to recognize perfection, let’s explore some serving suggestions to elevate your treats.
FAQ
What are mini marshmallows rice krispie treats?
Mini marshmallows rice krispie treats are a delicious, no-bake dessert made by combining melted mini marshmallows and butter with Rice Krispies cereal, resulting in a sweet and chewy snack.
How long do I need to cool the mini marshmallows rice krispie treats before cutting them?
After preparing the mixture and pressing it into the baking dish, allow the mini marshmallows rice krispie treats to cool at room temperature for about 30 minutes to ensure they set properly.
Can I substitute regular marshmallows for mini marshmallows in this recipe?
While you can use regular marshmallows instead of mini ones, the texture and ease of melting may differ slightly; mini marshmallows tend to melt more evenly and incorporate smoothly into the mixture.
How should I store my mini marshmallows rice krispie treats?
To keep your mini marshmallows rice krispie treats fresh, store them in an airtight container at room temperature for up to 3 days; they’ll maintain their delightful texture and flavor.
Can I add other ingredients to my mini marshmallows rice krispie treats?
Yes! While the recipe is perfect as is, feel free to mix in extras like chocolate chips or sprinkles right after combining the Rice Krispies cereal with the melted mixture for added flavor and fun.
Now that you’ve got all your questions answered, let’s explore some creative variations on these classic treats.
Mini Marshmallows Rice Krispie Treats
Ingredients
Method
- Line a 9x9 inch baking dish with parchment paper, leaving some overhang on the sides. This will make it easier to lift the treats out later.
- In a large saucepan over low heat, melt the butter. Stir occasionally to prevent burning.
- Once the butter is melted, add the mini marshmallows. Continue stirring until the marshmallows are completely melted and the mixture is smooth. This should take about 3-5 minutes.
- Remove the saucepan from heat and stir in the vanilla extract and salt. This enhances the flavor of the treats.
- Add the Rice Krispies cereal to the melted marshmallow mixture. Stir gently but thoroughly until all the cereal is evenly coated. Be careful not to crush the cereal.
- Pour the mixture into the prepared baking dish. Using a spatula or your hands (lightly greased), press the mixture down evenly into the dish. Make sure it’s compact for better cutting later.
- Allow the treats to cool at room temperature for about 30 minutes. Once set, lift the treats out of the dish using the parchment paper.
- Cut into 12 squares or rectangles using a sharp knife. Wipe the knife with a damp cloth between cuts to prevent sticking.