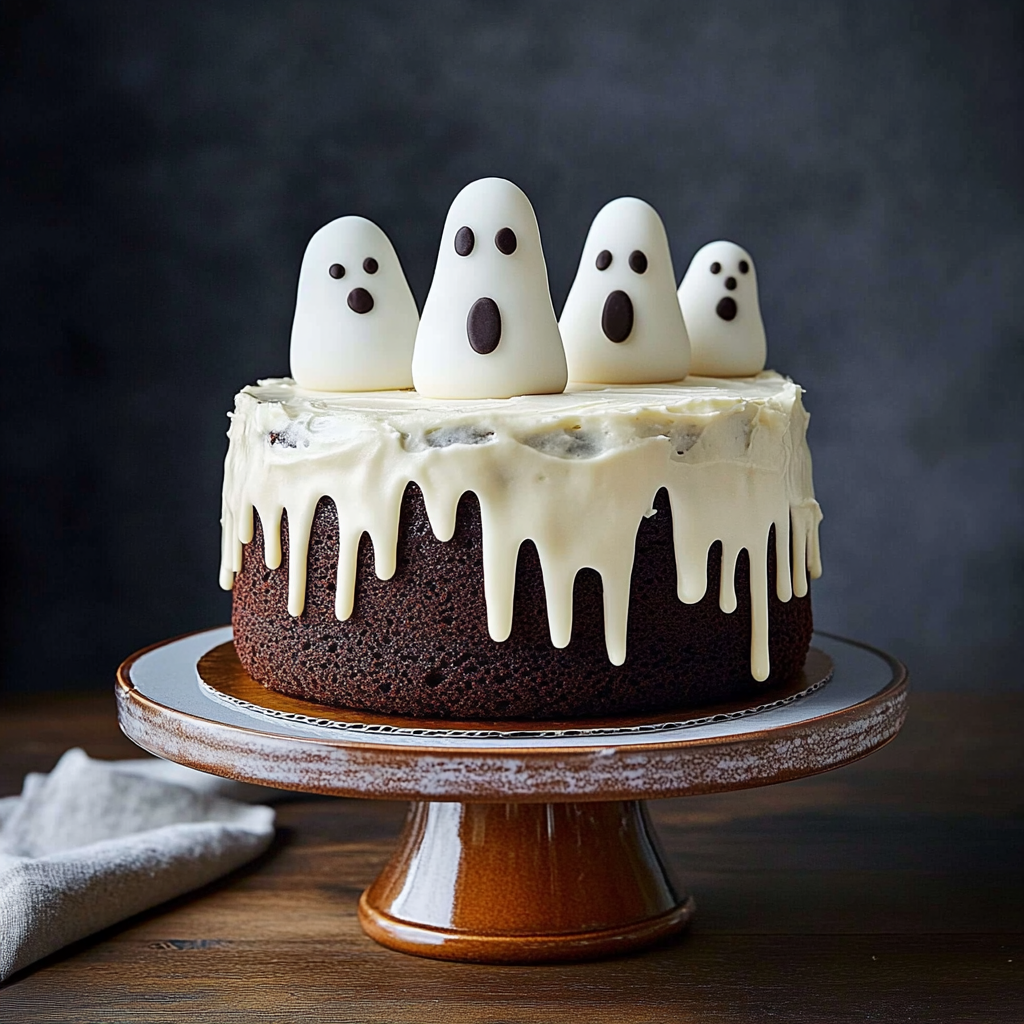
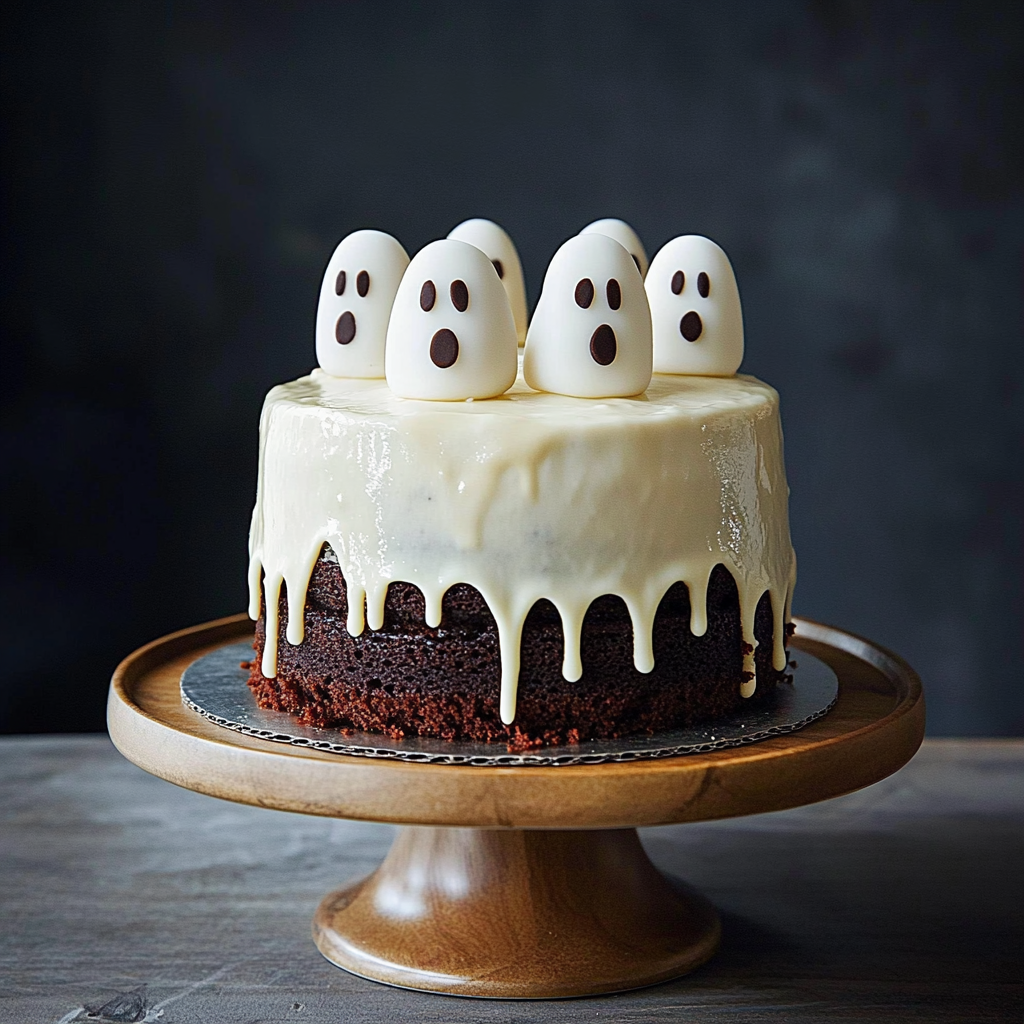
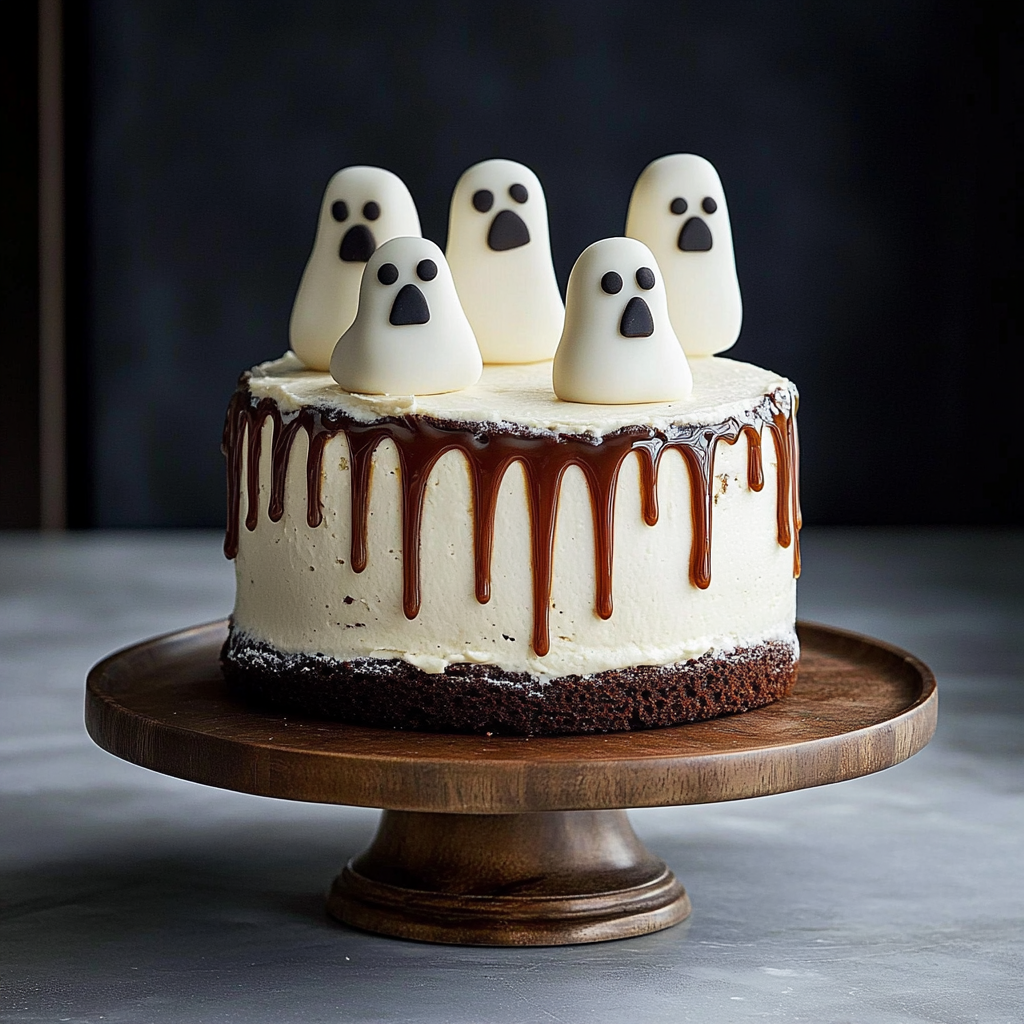
The Cutest Ghost Cake is more than just a dessert; it’s an invitation to a sugar-laden celebration that will delight any Halloween gathering. Imagine a fluffy vanilla cake cloaked in silky, white frosting, adorned with charming ghostly figures that seem to float right off the plate. The aroma of warm vanilla wafts through your kitchen, teasing taste buds and sparking anticipation for the delightful flavors that await. For more inspiration, check out this Chewy Oreo Cookies recipe.

This cake isn’t just for Halloween; it’s perfect for birthdays, family gatherings, or even when you need a quick pick-me-up after a long day. I remember the first time I made this The Cutest Ghost Cake for my niece’s birthday party—her eyes lit up like jack-o’-lanterns as she spotted it! It’s moments like these that make baking so special, connecting us through sweet treats and laughter.
Why You'll Love This Recipe
- This adorable cake is easy to make while packing a punch of flavor
- Its fun presentation makes it a showstopper at any event
- You can adjust the sweetness and decorations based on your preference
- Perfect for both kids and adults who enjoy a bit of whimsy in their desserts
I once surprised my friends with this cake at our annual Halloween potluck, and let’s just say it disappeared faster than you could say “Boo!”

Essential Ingredients
Here’s what you’ll need to make this delicious dish:
- All-Purpose Flour: Use high-quality flour for the best texture and structure in your cake.
- Granulated Sugar: This adds sweetness and helps achieve that light, fluffy cake texture.
- Baking Powder: Ensure your baking powder is fresh to give the cake its rise.
- Salt: A pinch enhances all the flavors without making it salty.
- Unsalted Butter: Make sure it’s at room temperature for easy creaming and better incorporation.
- Eggs: Use large eggs; they help bind the ingredients together beautifully.
- Vanilla Extract: Opt for pure vanilla extract to infuse rich flavor into your batter.
- Heavy Cream: For the frosting, it whips up nicely to create that dreamy texture.
- Powdered Sugar: This gives your frosting its sweet flavor and smooth consistency for decorating.
- Candy Eyes: These little guys add personality to your ghostly figures—don’t skip them! For more inspiration, check out this Chocolate Chip Candy Cane Cookies recipe.
The full ingredients list, including measurements, is provided in the recipe card directly below.
Let’s Make it together
Prepare Your Cake Batter: Preheat your oven to 350°F (175°C). Grease two round 9-inch cake pans with butter or cooking spray. In a mixing bowl, combine flour, baking powder, and salt; whisk together until blended.
Cream Together Butter and Sugar: In another bowl, beat softened butter with granulated sugar until light and fluffy—about 3-5 minutes. You want it looking like clouds on a sunny day!
Add Eggs and Vanilla Extract: One by one, add eggs to the butter-sugar mixture, mixing well after each addition. Pour in vanilla extract as you mix; trust me, your kitchen will smell heavenly.
Combine Wet and Dry Ingredients: Gradually mix in the dry ingredients until combined; be careful not to overmix! Scrape down the sides of the bowl if necessary.
Bake Your Layers: Divide batter evenly between prepared pans. Bake for 25-30 minutes or until a toothpick comes out clean from the center. Let cool in pans for about 10 minutes before transferring them onto wire racks.
Make Your Frosting!: In a medium bowl, beat heavy cream until soft peaks form. Gradually add powdered sugar until you reach desired sweetness and stiffness—this is where magic happens!
Assemble Your Ghost Cake!: Level your cooled cake layers with a serrated knife if needed. Place one layer on a serving plate; spread frosting generously on top before adding the second layer. Frost the top and sides of your cake smoothly.
Create Adorable Ghosts!: Use leftover frosting to pipe ghost shapes around the sides of the cake using a piping bag or zip-top bag with a corner snipped off. Finish with candy eyes on each ghost.
Now step back and admire your creation! Not only does The Cutest Ghost Cake look fantastic but it’s bound to bring smiles wherever it’s served!
You Must Know
- This Cutest Ghost Cake is not only adorable but also deliciously moist
- Use a combination of vanilla and chocolate cake for a delightful flavor contrast
- The fluffy frosting adds a perfect finishing touch, making it irresistible for both kids and adults alike
Perfecting the Cooking Process
Start by baking your cakes in advance to allow them to cool completely. While they cool, prepare the frosting and decorations to streamline your decorating process.

Add Your Touch
Feel free to swap out vanilla extract for almond extract for a unique twist. Add colorful sprinkles or edible glitter to make your ghost cake even cuter!
Storing & Reheating
Store any leftovers in an airtight container at room temperature for up to three days. For longer storage, refrigerate, but allow the cake to come back to room temperature before serving.
Chef's Helpful Tips
- Always ensure your cakes are completely cooled before frosting; otherwise, the frosting will melt
- Use a serrated knife to level your cakes for better stacking
- When piping, practice on parchment paper first to get comfortable with your technique
Creating this Cutest Ghost Cake brings back warm memories of Halloween parties filled with laughter. Friends always rave about how cute it looks and how delicious it tastes, making it a hit every year.

FAQ
What is the best way to frost the Cutest Ghost Cake?
Use a spatula for smooth coverage or pipe designs for added flair.
Can I make this cake gluten-free?
Absolutely! Substitute regular flour with gluten-free all-purpose flour.
How do I prevent my cake layers from sticking?
Grease and flour your cake pans well before pouring in the batter.


