
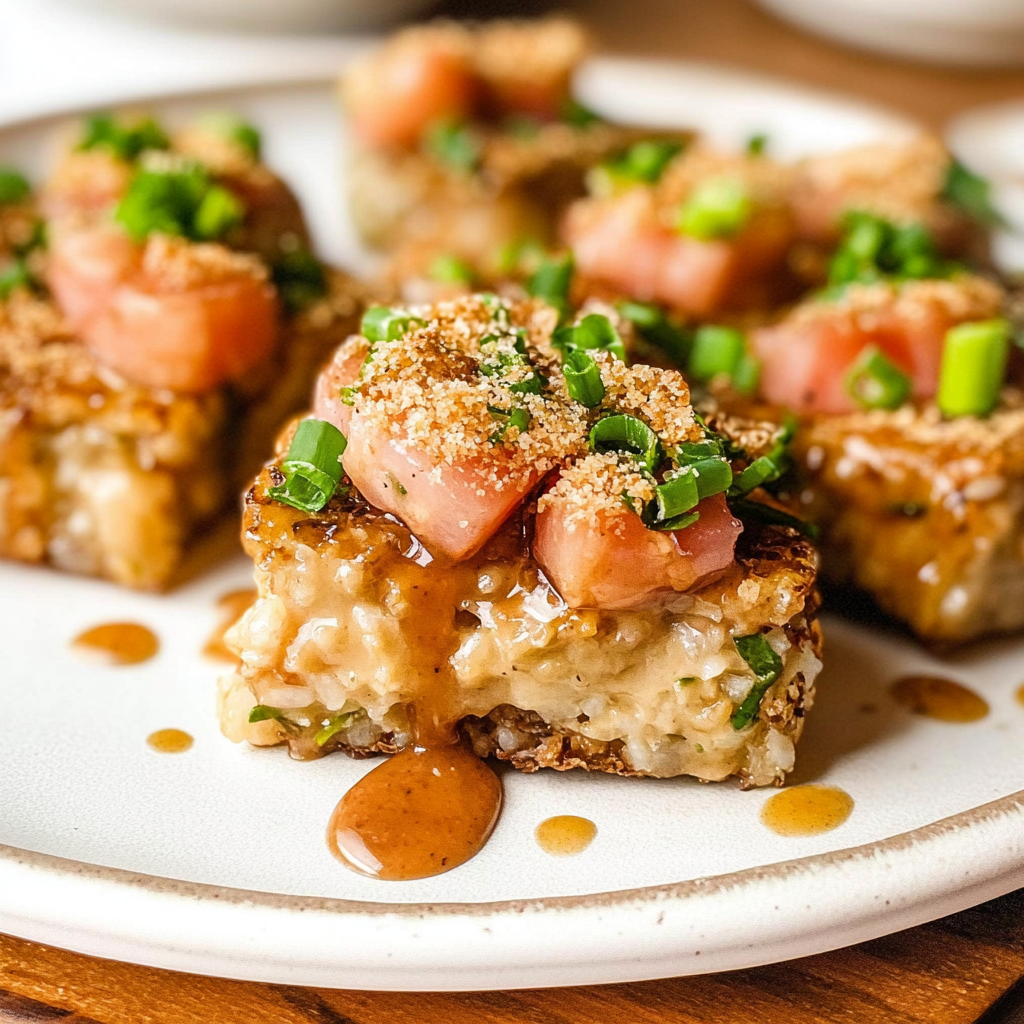
Crispy Rice California Sushi Squares are a delightful fusion of flavors and textures that will tantalize your taste buds. Imagine biting into a perfectly crisp square, revealing layers of fresh vegetables and savory fish, all wrapped in a delicate embrace of seasoned rice. fresh Mediterranean Bowl recipe The aroma wafts through the air, inviting you to take another bite.

This dish has a special place in my heart, reminding me of family gatherings where we would laugh, eat, and compete over who made the best sushi squares. These savory bites are perfect for any occasion, whether it’s a cozy night in or an extravagant party. Get ready for an explosion of flavors that will leave you craving more. For more inspiration, check out this explore more delicious recipes recipe.
Why You'll Love This Recipe
- Crispy Rice California Sushi Squares are incredibly easy to prepare and sure to impress your guests
- Each bite delivers a burst of flavor with contrasting crunch and softness
- Their stunning visual appeal makes them a centerpiece at any gathering
- You can customize the filling based on personal preferences or what’s in your fridge
I once brought these Crispy Rice California Sushi Squares to a potluck, and people actually fought over the last piece! zesty Dill Pickle Pasta Salad.
Essential Ingredients
Here’s what you’ll need to make this delicious dish:
- Sushi Rice: Use short-grain sushi rice for its stickiness; it holds the squares together perfectly.
- Rice Vinegar: Look for seasoned rice vinegar; it adds just the right balance of sweetness and acidity.
- Fresh Vegetables: Choose avocado, cucumber, and carrots for freshness; they add crunch and color. flavorful Mexican Street Corn Toast.
- Fish (optional): Opt for fresh sashimi-grade fish like tuna or salmon if desired; it elevates the dish significantly.
- Sesame Oil: A drizzle enhances flavor with its nutty aroma; it’s key for that authentic sushi taste.
- Nori Sheets: Use high-quality nori sheets; they add umami flavor and extra texture to each square.
- Scallions: Thinly sliced scallions provide a mild oniony crunch that complements the other ingredients beautifully.
- Wasabi and Soy Sauce: Essential condiments for dipping; they bring out the flavors in each bite!
The full ingredients list, including measurements, is provided in the recipe card directly below.
Let’s Make it together
Prepare Your Sushi Rice: Rinse 2 cups of sushi rice under cold water until water runs clear. Cook according to package instructions, usually about 20 minutes on low heat.
Add Seasoning to Rice: Once cooked, transfer rice into a large bowl while it’s still warm. Drizzle with 1/4 cup rice vinegar mixed with 1 tablespoon sugar and 1 teaspoon salt. Stir gently using a wooden spatula.
Mold Your Rice Squares: Lightly grease a baking dish with sesame oil. Press half of the seasoned rice evenly into the bottom using your hands or a spatula until compacted.
Add Fillings: Layer your choice of fillings such as sliced avocado, cucumber strips, fish, and scallions over the pressed rice layer. Feel free to get creative here!
Cover with Remaining Rice: Press the remaining rice firmly on top of your fillings. Use plastic wrap on top before refrigerating for at least 30 minutes to set.
Slice and Serve: Remove from fridge and lift out using plastic wrap. Slice into squares with a sharp knife dipped in water to prevent sticking. Serve with wasabi and soy sauce on the side.
And there you have it! Your Crispy Rice California Sushi Squares are ready to dazzle both your taste buds and friends at any gathering! Enjoy!
You Must Know
- The secret to perfect Crispy Rice California Sushi Squares lies in the rice
- Use short-grain sushi rice for that ideal sticky texture
- Don’t rush the pressing process; it ensures the squares hold together beautifully
- The vibrant toppings add a delightful crunch and burst of flavor
Perfecting the Cooking Process
Start by cooking your sushi rice according to package instructions. Once done, let it cool slightly before pressing it into your mold. This sequence avoids mushy rice and ensures even texture throughout.
Add Your Touch
Feel free to swap traditional ingredients with your favorites, like spicy tuna or avocado. Adding unique toppings like sesame seeds or sliced jalapeños can create a personal twist that makes them uniquely yours. For more inspiration, check out this try avocado feta toast recipe.
Storing & Reheating
Store leftover squares in an airtight container in the fridge for up to two days. To enjoy them warm, briefly microwave them on low power, ensuring they don’t dry out.
Chef's Helpful Tips
- Perfectly cooked sushi rice is key for these squares; rinse thoroughly to remove excess starch
- When pressing the rice, dampen your hands to prevent sticking and keep everything neat
- Experiment with toppings; you can turn classic sushi into a gourmet experience!
Sometimes, I whip up these squares for gatherings, and they always steal the show. Friends rave about how delicious and fun they are—it’s my go-to for impressing guests!
FAQ
What type of rice is best for Crispy Rice California Sushi Squares?
Short-grain sushi rice is ideal due to its sticky texture and ability to hold shape.
Can I use other proteins besides crab?
Absolutely! Feel free to substitute shrimp, tofu, or even grilled chicken for variety. stuffed shells with chicken and broccoli.
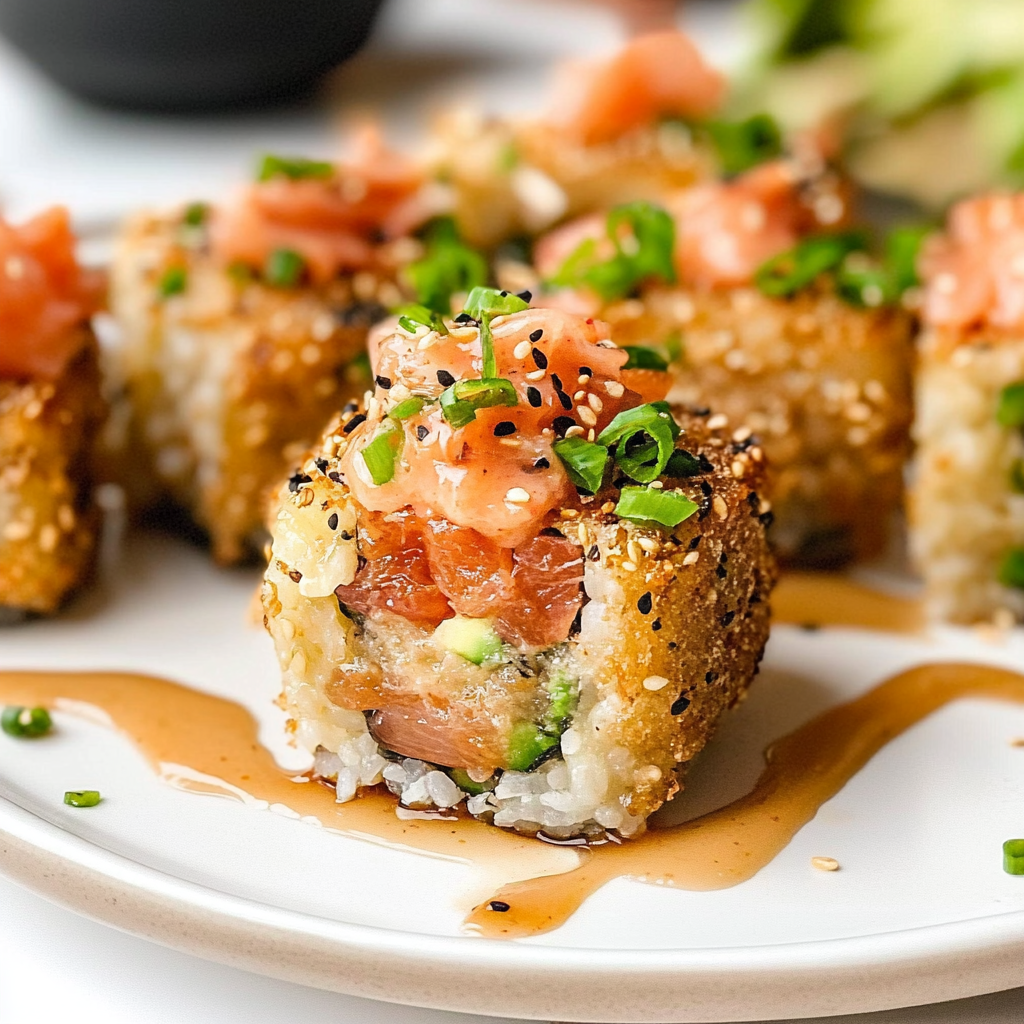
How do I achieve extra crispiness?
Fry the pressed rice squares until golden brown on both sides for that perfect crunch!
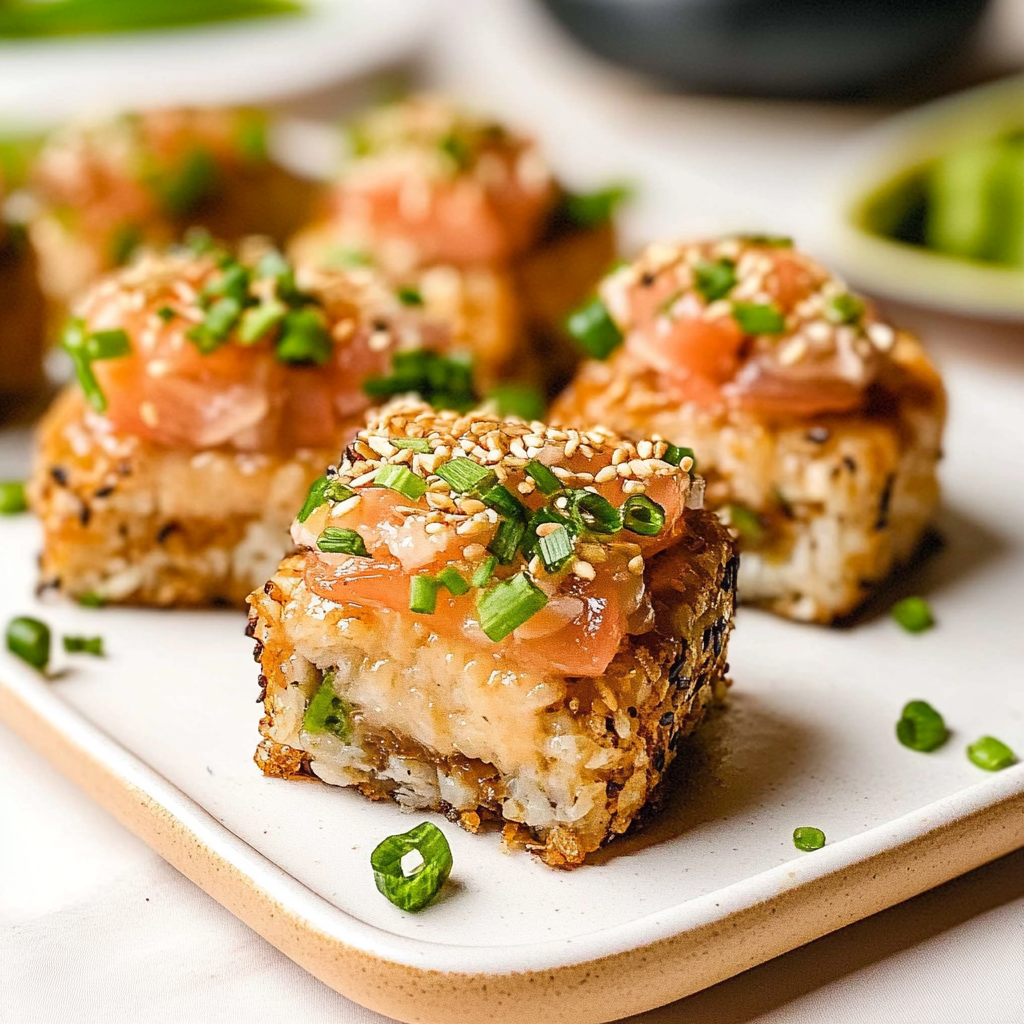
Crispy Rice California Sushi Squares

Crispy Rice California Sushi Squares are the perfect blend of crunchy, savory, and fresh flavors, making them a standout dish for any gathering. With their delightful layers of seasoned sushi rice, fresh vegetables, and optional sashimi-grade fish, these bite-sized squares create an unforgettable culinary experience. Ideal for parties or cozy nights in, they’re not just delicious but visually striking too!
- Prep Time: 15 minutes
- Cook Time: 20 minutes
- Total Time: 35 minutes
- Yield: Approximately 8 servings 1x
- Category: Appetizer
- Method: No-Cook/Chilling
- Cuisine: Japanese
Ingredients
- 2 cups short-grain sushi rice
- 1/4 cup seasoned rice vinegar
- 1 tablespoon sugar
- 1 teaspoon salt
- 1 avocado, sliced
- 1 cucumber, julienned
- 4 ounces sashimi-grade fish (optional)
- 2 tablespoons sesame oil (for greasing)
- 4 nori sheets
- 2 scallions, thinly sliced
- Wasabi and soy sauce (for serving)
Instructions
- Rinse sushi rice under cold water until clear. Cook according to package instructions (about 20 minutes on low heat).
- In a bowl, combine warm cooked rice with rice vinegar, sugar, and salt; stir gently.
- Grease a baking dish with sesame oil. Press half of the rice into the bottom.
- Layer avocado, cucumber, fish, and scallions over the rice.
- Press the remaining rice on top and refrigerate for at least 30 minutes to set.
- Slice into squares using a wet knife and serve with wasabi and soy sauce.
Nutrition
- Serving Size: 1 square
- Calories: 150
- Sugar: 2g
- Sodium: 200mg
- Fat: 5g
- Saturated Fat: 0g
- Unsaturated Fat: 4g
- Trans Fat: 0g
- Carbohydrates: 24g
- Fiber: 1g
- Protein: 3g
- Cholesterol: 20mg