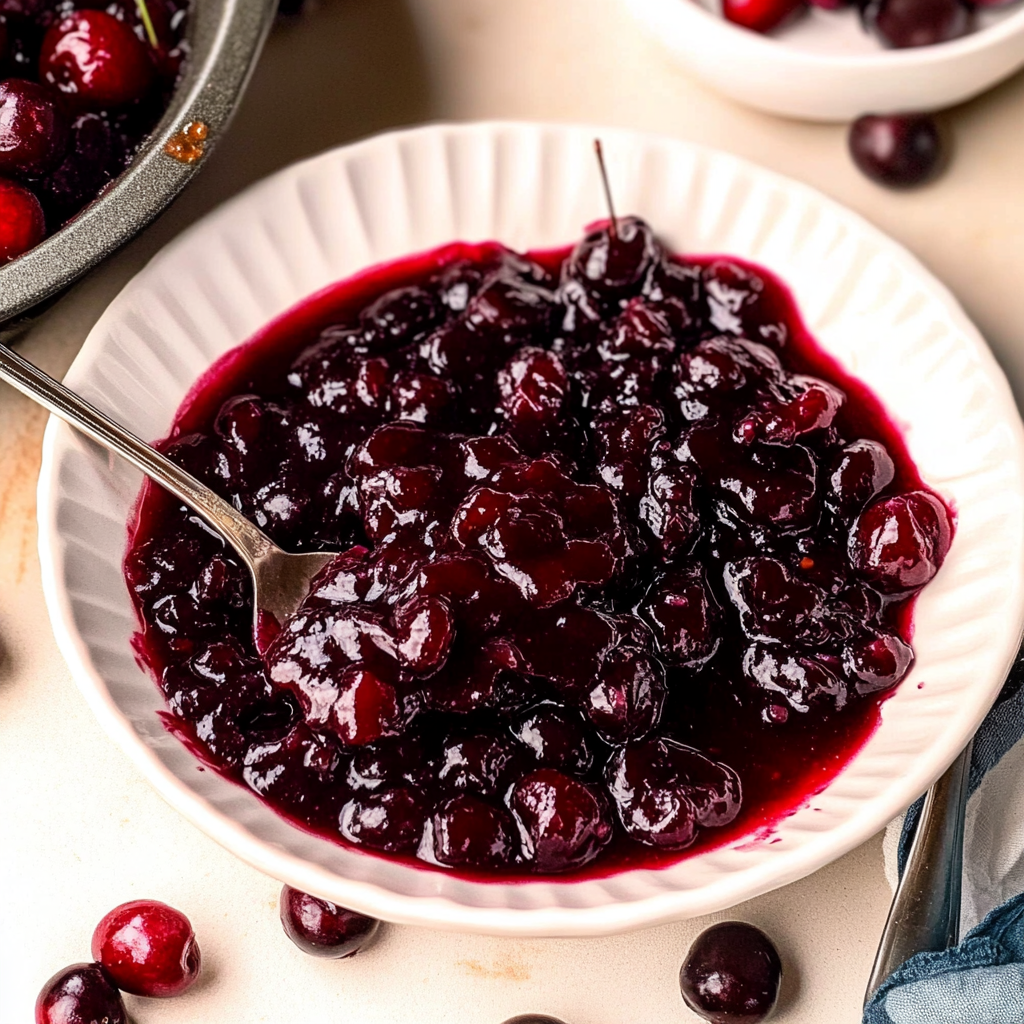
There’s something about the aroma of homemade cherry pie filling that can transport you straight to your grandmother’s kitchen, where memories are baked into every bite. Picture this: a warm, buttery crust cradling a vibrant, ruby-red filling bursting with tart cherries and just the right amount of sweetness. chocolate coconut cookie balls The moment you peel back that crust, the steam escapes, carrying with it the scent of nostalgia and comfort. It’s a glorious moment that makes your heart skip a beat and your taste buds dance.
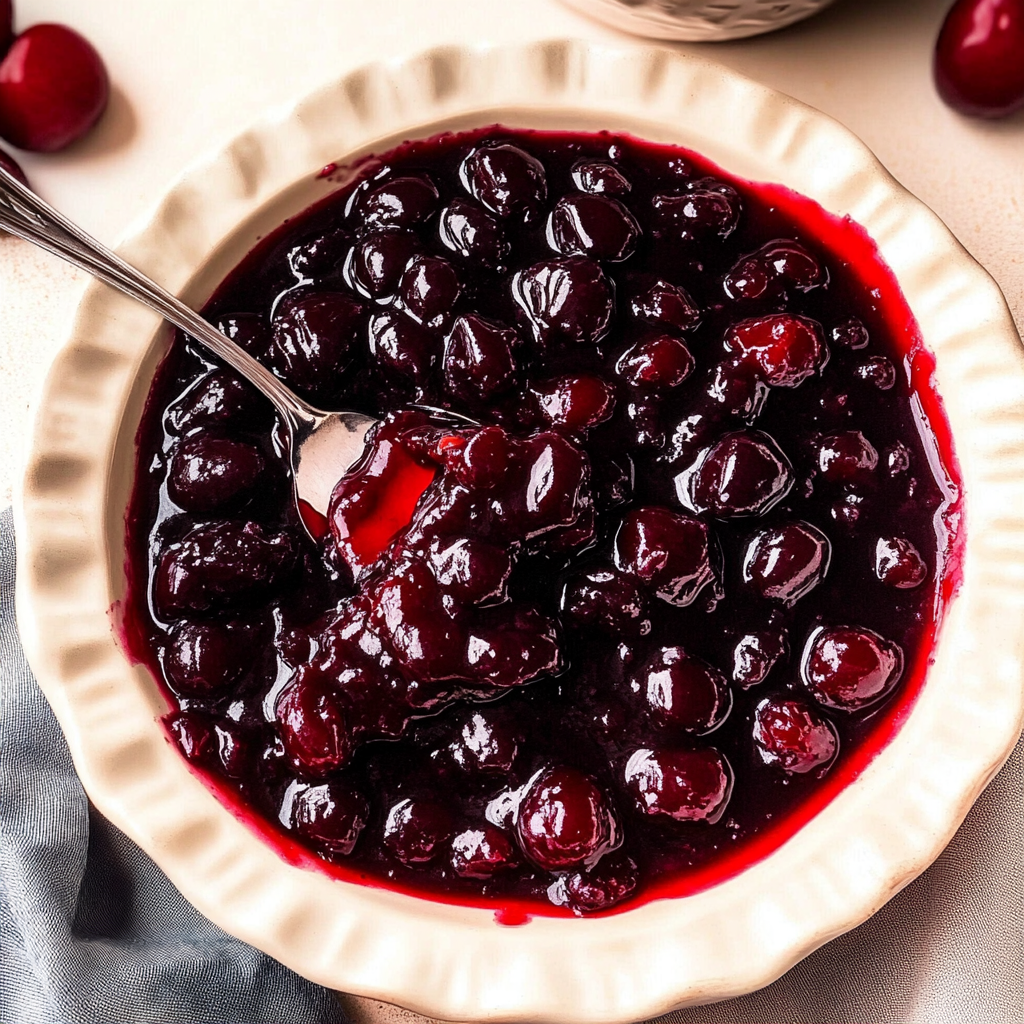
Cherry pie filling is not just for pies, though. It’s like the Swiss Army knife of desserts. You can spoon it over pancakes for breakfast, dollop it on top of vanilla ice cream for an indulgent treat, or even swirl it into yogurt for a quick snack. delicious pumpkin dump cake Every time I whip up a batch of this delightful filling, I’m reminded of summer picnics and family gatherings where laughter mingles with the sweet scent of cherries wafting through the air.
Why You'll Love This Recipe
- This cherry pie filling recipe is incredibly easy to prepare; you’ll be amazed at how quickly it comes together
- Bursting with flavor, its perfect balance of tartness and sweetness will get everyone asking for seconds
- The rich color and glossy texture make it visually appealing on any dessert table
- Plus, it’s versatile enough to use in various dishes beyond just pies
Some years back at a family barbecue, I made this cherry pie filling, and let’s just say my aunt nearly had me put in charge of all future dessert decisions after tasting it. For more inspiration, check out this Berry Tartlets recipe recipe.
Essential Ingredients
Here’s what you’ll need to make this delicious dish:
- Fresh Cherries: Opt for ripe cherries for maximum flavor; pitting them can be a fun activity if you have little helpers around.
- Sugar: Granulated sugar will enhance the natural sweetness of the cherries; adjust according to your taste preferences.
- Cornstarch: This thickening agent ensures your cherry filling has the perfect consistency without being too runny.
- Lemon Juice: A splash will brighten up the flavors; fresh lemon juice works best for its zingy freshness.
- Vanilla Extract: Adding this gives depth to your filling; consider using pure vanilla extract for a more robust flavor.
The full ingredients list, including measurements, is provided in the recipe card directly below.
Let’s Make it together
Prepping your cherry pie filling is straightforward and satisfying. Just follow these steps:
Prepare Your Cherries: Start by washing 4 cups of fresh cherries thoroughly under cold water. Remove the stems and pit each cherry gently using a cherry pitter or knife.
Combine Ingredients in a Saucepan: In a medium saucepan over medium heat, mix the pitted cherries with 1 cup of granulated sugar, 1/4 cup of cornstarch, and 1 tablespoon of lemon juice until well coated.
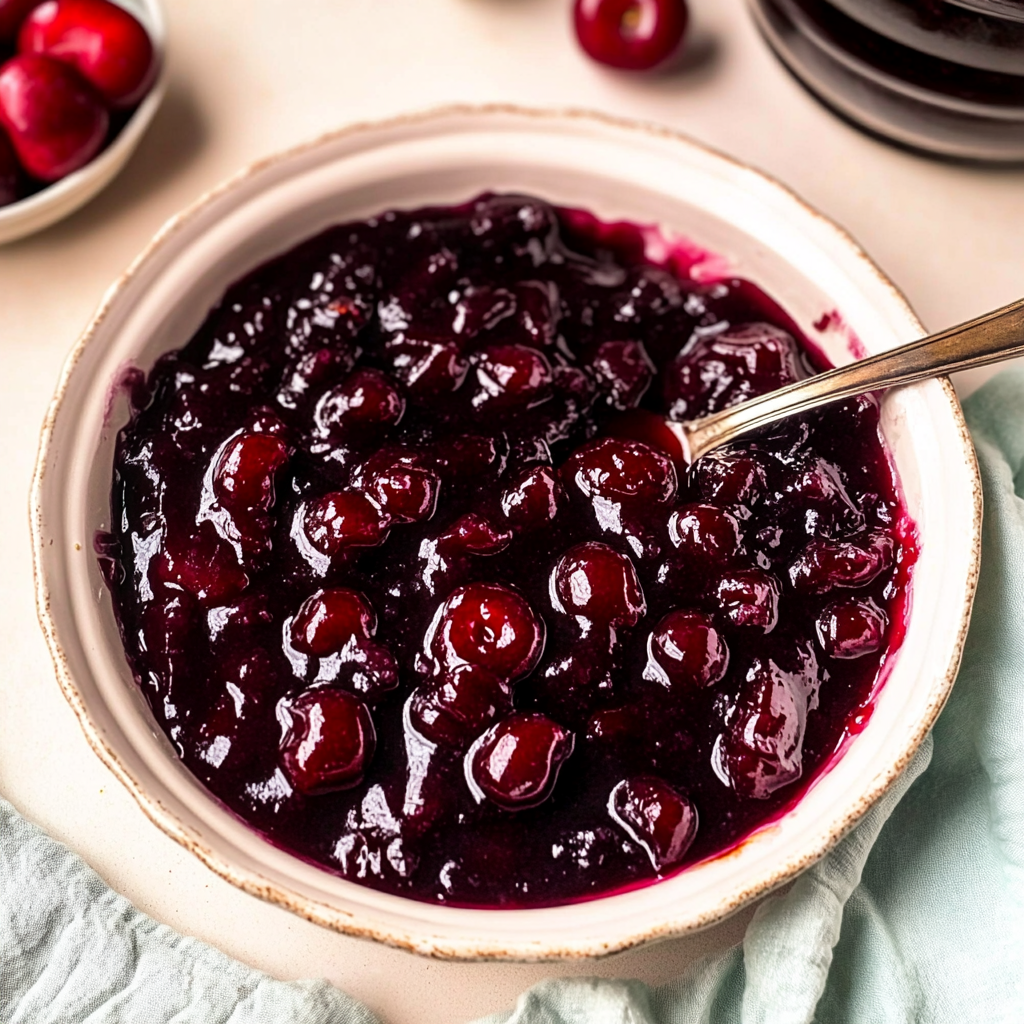
Cook Until Thickened: Stir occasionally as you heat the mixture until it starts bubbling vigorously. Cook for about 5-7 minutes until it thickens and becomes glossy while releasing that incredible aroma.
Add Flavorings: Once thickened, remove from heat and stir in 1 teaspoon of vanilla extract immediately. The warmth will help infuse the wonderful vanilla flavor into your cherries.
Cool Before Using: Allow your cherry pie filling to cool completely before using it in pies or other desserts. If you can resist snacking on it straight from the bowl!
This simple recipe creates an indulgent cherry pie filling perfect for any occasion!
You Must Know
- Cherry pie filling is not just for pies; it elevates desserts like ice cream and yogurt
- The sweet, tart aroma fills the kitchen, making it feel like a warm hug
- This versatile filling can also be used as a topping for pancakes or waffles, adding a fun twist to breakfast
Perfecting the Cooking Process
To achieve the best cherry pie filling, start by cooking the cherries with sugar and cornstarch until bubbly. This ensures that the cherries release their juices and thicken perfectly, creating that iconic sweet-tart flavor. strawberry sugar cookies cherry pop tart cookies.

Add Your Touch
Consider adding a splash of vanilla extract or almond extract for extra depth. You can also mix in some lemon juice to brighten the flavors, which makes your cherry pie filling truly unique.
Storing & Reheating
Store cherry pie filling in an airtight container in the fridge for up to one week. To reheat, gently warm it on the stove over low heat, stirring occasionally until heated through without losing its texture.
Chef's Helpful Tips
- Use fresh or frozen cherries; both work wonderfully but adjust sugar based on tartness
- Ensure you let the filling cool before using to prevent a soggy crust
- For added flavor, toss in a pinch of cinnamon or nutmeg while cooking
Creating this cherry pie filling reminds me of the first time I baked with my grandmother. She taught me that the secret ingredient is always love—and maybe a bit more sugar!
FAQ
Can I use canned cherries for cherry pie filling?
Yes, canned cherries work well; just reduce sugar since they’re often already sweetened.
How long does homemade cherry pie filling last?
Homemade cherry pie filling can last about one week when stored properly in the fridge.
What can I use leftover cherry pie filling for?
Leftover cherry pie filling is perfect for topping ice cream, yogurt, or pancakes!