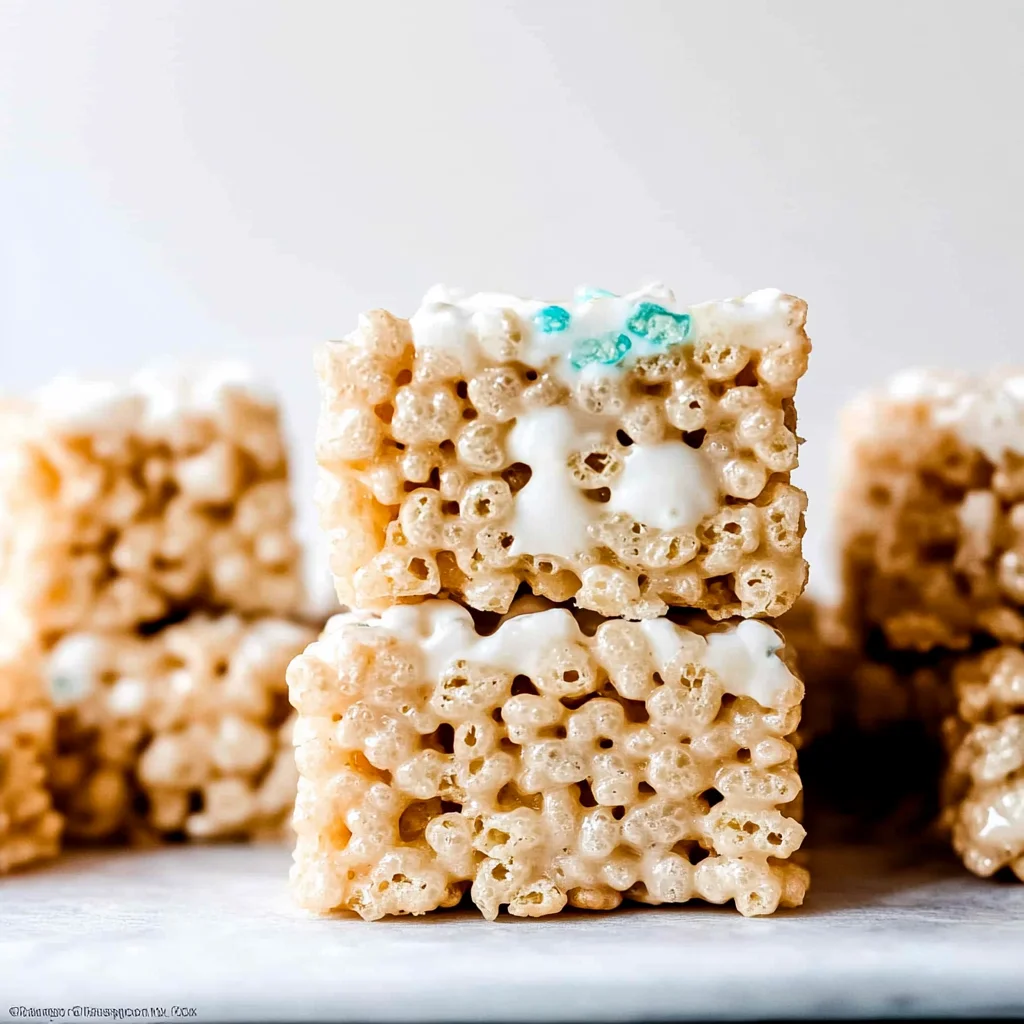
There’s something comforting about making rice krispie treats original recipe. The sweet scent of melting marshmallows fills the kitchen, and the mixture feels soft and sticky in your hands.

Don’t worry if your first batch doesn’t come out perfectly. This recipe is forgiving and easy to adjust, so you can make it just how you like.
Why This Recipe Works
This rice krispie treats original recipe balances the right amount of butter and marshmallows, ensuring a smooth texture that holds together perfectly. Melting the marshmallows gently prevents burning, while pressing the mixture firmly into the dish allows for easy cutting later. These simple techniques guarantee deliciously satisfying results every time. Now that you know why this recipe is effective, let’s explore some fun variations you can try!
The One Thing That Makes It Work
- The key to perfecting the rice krispie treats original recipe lies in ensuring that the marshmallows are completely melted and smoothly combined with the butter before mixing in the Rice Krispies.
- This step is crucial for achieving a cohesive texture that holds together well without crumbling.
- Properly pressing the mixture into the baking dish also helps to maintain that ideal shape and texture once cooled.
Now that we’ve covered what makes this classic treat successful, let’s explore some variations to keep things interesting.
Essential Ingredients
To create the perfect rice krispie treats original recipe, gather the following essential ingredients.
- 3 tablespoons unsalted butter: Use room temperature for easy melting and to achieve a smooth mixture.
- 1 package marshmallows: Opt for mini marshmallows for quicker melting and easier mixing into the butter.
- 6 cups Rice Krispies cereal: Ensure cereal is fresh to maintain the best texture and crunch in your treats.
- 1/2 teaspoon vanilla extract: This is optional but adds a delightful flavor enhancement to the classic recipe.
The full ingredients list, including measurements, is provided in the recipe card directly below.
Do This, Not That
- Use room temperature unsalted butter for easy melting, rather than cold butter that will not incorporate smoothly.
- Choose mini marshmallows to ensure a quicker and more even melt, instead of larger ones which can take longer and may clump.
- Make sure your Rice Krispies cereal is fresh for the best texture; stale cereal will result in treats that lack crunch.
Now that you have the foundational elements of the rice krispie treats original recipe down, let’s explore some variations you can try!
Step-by-Step Method
Start by greasing a 9×13 inch baking dish with non-stick cooking spray. This will help the treats come out easily later, so make sure to cover the bottom and sides well.
In a large saucepan, melt the unsalted butter over low heat. Stir gently as it melts, and watch for a light golden color without browning. The smell of the warm butter will fill your kitchen.
Once the butter is melted, add in the mini marshmallows. Keep stirring until they completely melt into a smooth mixture. It should look glossy and have a sweet aroma that signals it’s ready for the next step.
Remove the saucepan from heat and quickly add the fresh Rice Krispies cereal. Gently fold the cereal into the marshmallow mixture until every piece is coated evenly. The texture should feel sticky but not overly wet.
Using a buttered spatula or your hands, press the mixture firmly into the greased baking dish. Aim for an even layer, ensuring it’s packed down well to hold together when cut later.
Let the treats cool at room temperature for about 30 minutes. Once set, use a sharp knife to cut them into squares or rectangles, wiping the blade with a damp cloth between cuts for smooth edges.
With your delicious rice krispie treats original recipe ready to be enjoyed, let’s explore some fun ways to customize them!
Troubleshooting (If Something Goes Wrong)
If your rice krispie treats are too sticky, try adding a bit more Rice Krispies cereal to the mixture. If they turn out too hard, you can reheat them gently in the microwave for a few seconds to soften them up. Remember, mistakes happen, and each challenge can be easily fixed with a little patience. Now that you’re equipped with confidence, let’s explore some fun variations of this classic treat.
Variations You’ll Actually Want to Try
If you’re looking to mix things up a bit with your rice krispie treats original recipe, consider adding a handful of chocolate chips or sprinkles for a fun twist. You can also substitute some of the Rice Krispies with crushed graham crackers for a s’mores-inspired treat. Feel free to get creative while keeping it simple! Now, let’s explore some creative ways to elevate your treats even further.
Pick Your Flavor Path
- For a spicy twist, sprinkle in a dash of cayenne pepper or crushed red pepper flakes to the melted marshmallow mixture.
- If you’re in the mood for something fresh, mix in zesty lemon or orange zest before combining with the Rice Krispies.
- For a cheesy experience, fold in some grated sharp cheddar cheese right after melting the marshmallows for a savory surprise.
As you venture into customizing your rice krispie treats original recipe, consider how each flavor can enhance your experience.
FAQ
How long do rice krispie treats made with the original recipe last?
Rice krispie treats can last about 3-5 days when stored in an airtight container.
Can I substitute butter in the rice krispie treats original recipe?
Yes, you can use margarine or coconut oil as a butter substitute, keeping the same measurement.
What’s the best way to store leftover rice krispie treats?
Store leftovers at room temperature in an airtight container to maintain their texture and freshness.
Now that you have your questions answered, let’s explore some fun variations of this classic treat.
Original Rice Krispie Treats
Ingredients
Method
- Grease a 9x13 inch baking dish with non-stick cooking spray. This prevents the treats from sticking and makes it easier to remove them later.
- In a large saucepan over low heat, melt the unsalted butter. Stir gently to ensure it doesn't burn.
- Once the butter is melted, add the marshmallows to the saucepan. Continue stirring until the marshmallows are completely melted and the mixture is smooth.
- If using, stir in the vanilla extract for added flavor.
- Remove the saucepan from heat. Quickly add the Rice Krispies cereal to the melted marshmallow mixture. Stir gently but thoroughly until all the cereal is evenly coated with the marshmallow mixture. This step is crucial to ensure every piece is covered and the treats hold together.
- Using a buttered spatula or your hands (lightly greased), press the mixture evenly into the prepared baking dish. Make sure to pack it down firmly to avoid crumbling later.
- Allow the treats to cool at room temperature for about 30 minutes. Once set, cut into squares or rectangles using a sharp knife. Wipe the knife with a damp cloth between cuts to prevent sticking.