This 7 Layer Taco Dip is a chilled, Mexican-inspired appetizer made with seasoned refried beans, creamy sour cream, guacamole, shredded cheese, fresh tomatoes, black olives, and green onions. Each layer adds a different texture, from the smooth bean base to the crisp, fresh toppings. The recipe requires no cooking and comes together in a 9 x 13-inch (23 x 33 cm) baking dish.
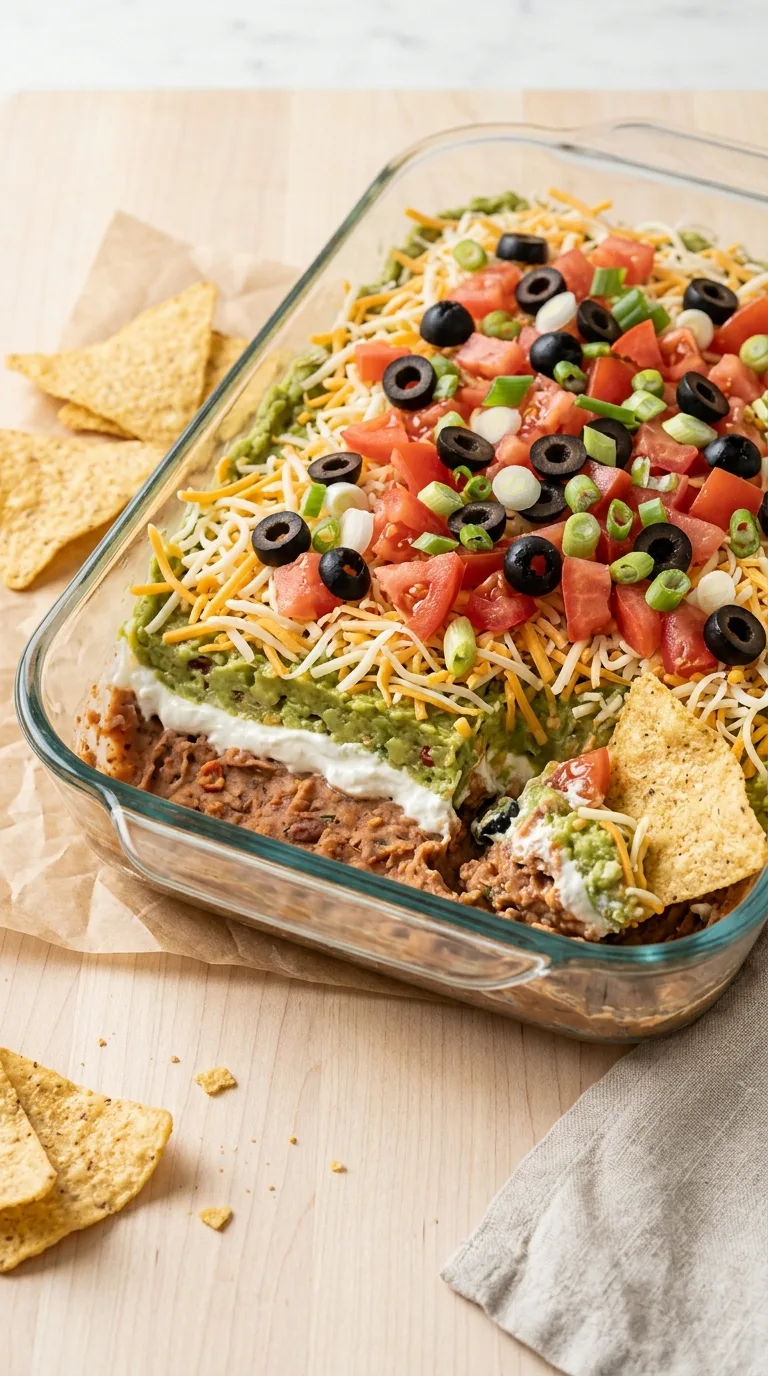
The key to distinct layers is moisture control. Thick refried beans create a stable base, while smooth sour cream and guacamole spread easily without mixing together. Removing excess moisture from the tomatoes and draining the olives keeps the finished dip from becoming watery. A short refrigeration period helps the layers firm up before serving with tortilla chips.
Why This Recipe Works
- A sturdy bean base supports the layers. Refried beans have a thick consistency that helps prevent the lighter ingredients from sinking or sliding. Mixing the taco seasoning directly into the beans distributes the savory, mildly spicy flavor throughout the bottom layer.
- Creamy ingredients create a smooth texture contrast. Sour cream provides acidity and richness, while guacamole adds a thicker, buttery texture. Spreading each ingredient gently helps maintain visible, separate layers instead of blending everything together.
- Moisture control and chilling improve the finished texture. Draining the olives and removing excess tomato moisture reduce liquid buildup. Refrigerating the assembled dip for 30 minutes helps the layers settle and makes it easier to scoop without turning the dip watery.
Equipment Needed
- 9 x 13-inch (23 x 33 cm) shallow glass or ceramic baking dish
- Medium mixing bowl, approximately 2-quart (1.9 L) capacity
- Small mixing bowl, approximately 1-quart (950 mL) capacity
- Measuring cups and measuring spoons
- Silicone spatula or the back of a large spoon
- Cutting board
- Sharp kitchen knife
- Fine-mesh strainer, approximately 6 inches (15 cm) in diameter
- Plastic wrap or a fitted dish cover
- Serving spoon
Ingredients List
For the Seasoned Bean Layer
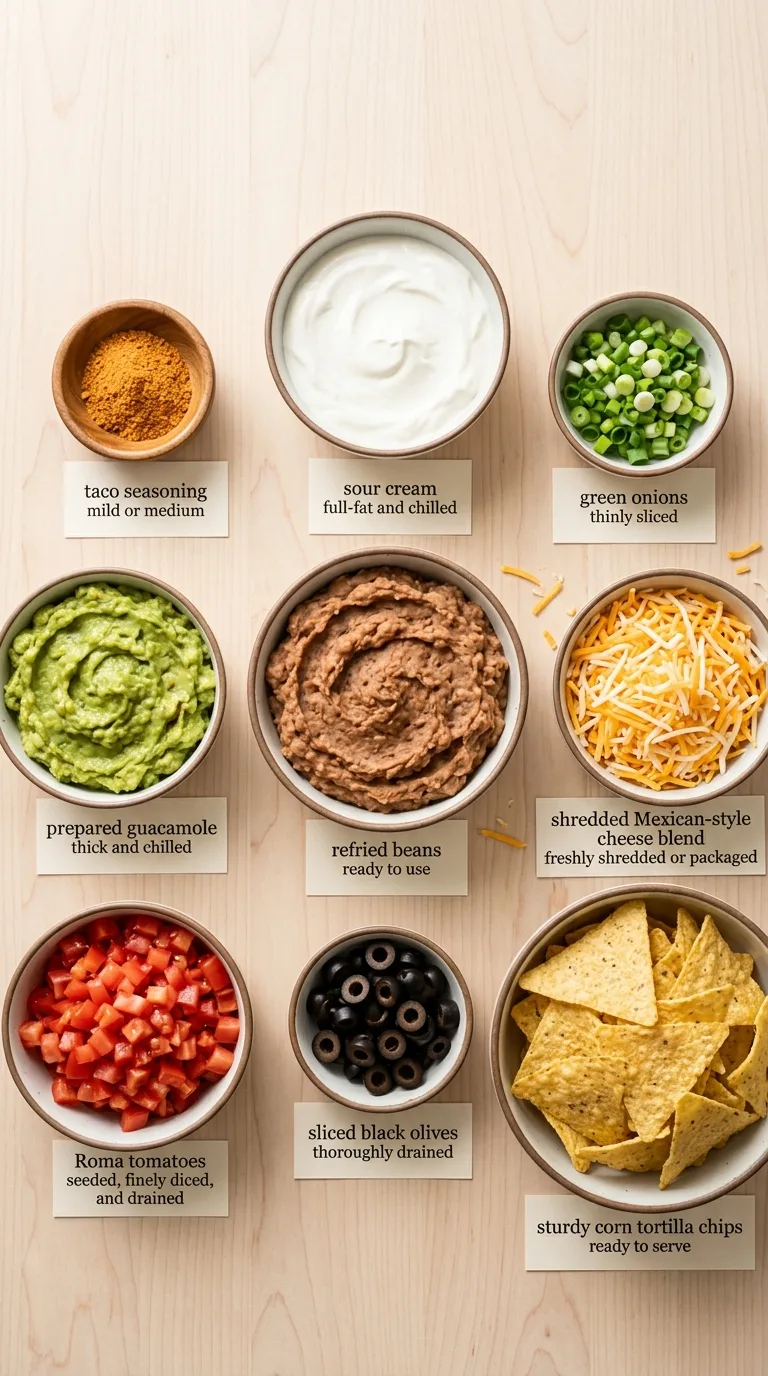
- 1 can (16 oz / 454 g) refried beans, ready to use
- 1 tablespoon (8 g) taco seasoning, mild or medium
For the Creamy Layers
- 1 cup (240 g) sour cream, full-fat and chilled
- 1 cup (225 g) prepared guacamole, thick and chilled
For the Cheese and Fresh Toppings
- 2 cups (226 g) shredded Mexican-style cheese blend, freshly shredded or packaged
- 1 cup (150 g) Roma tomatoes, seeded, finely diced, and drained
- 1/2 cup (65 g) sliced black olives, thoroughly drained
- 1/2 cup (50 g) green onions, thinly sliced
For Serving
- 8 oz (227 g) sturdy corn tortilla chips, ready to serve
Ingredient Notes and Substitutions
- Refried Beans: The thick bean mixture forms the structural base of the dip and provides a savory flavor that works with the taco seasoning. Its dense texture helps keep the upper layers in place. Substitution: Use the same amount of refried black beans for a darker color and a slightly earthier flavor. Choose a thick variety to maintain the same stability.
- Guacamole: Guacamole adds creamy texture and a fresh avocado flavor between the sour cream and cheese layers. A thick mixture spreads cleanly and helps maintain separation between layers. Substitution: Use the same amount of mashed ripe avocado for a milder, less seasoned layer. The avocado may brown more quickly without the acidic ingredients typically found in prepared guacamole.
- Mexican-Style Cheese Blend: Shredded cheese provides a savory, slightly firm layer that contrasts with the creamy ingredients underneath. Its shreds help create texture without adding excess moisture. Substitution: Use the same amount of shredded sharp cheddar cheese for a stronger cheese flavor and a slightly firmer texture when chilled.
Step-by-Step Instructions
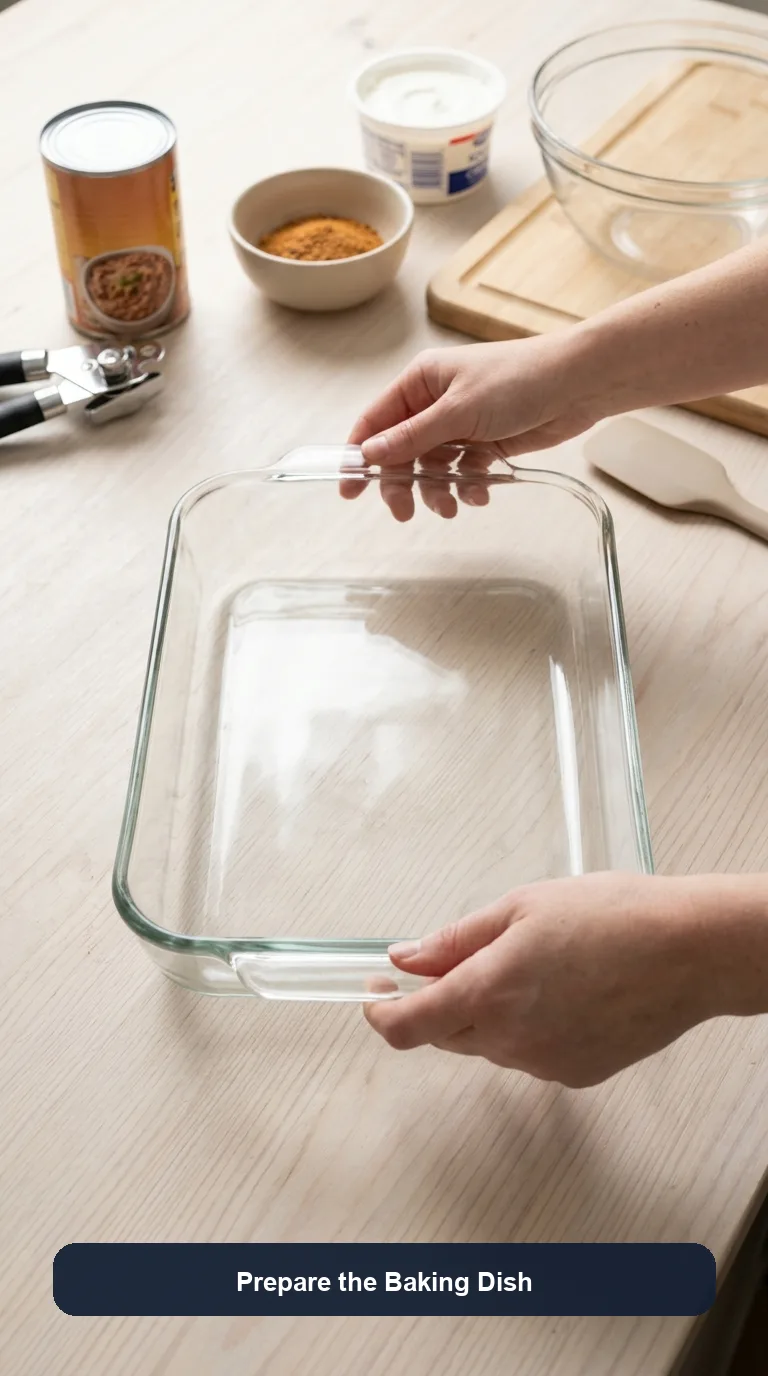
Step 1: Prepare the Baking Dish.
Place a clean, dry 9 x 13-inch (23 x 33 cm) baking dish on a flat work surface. Keep the sour cream and guacamole refrigerated until needed so their thicker, chilled consistency makes the layers easier to spread. The dish should be completely dry before assembly to prevent excess moisture beneath the bean layer.
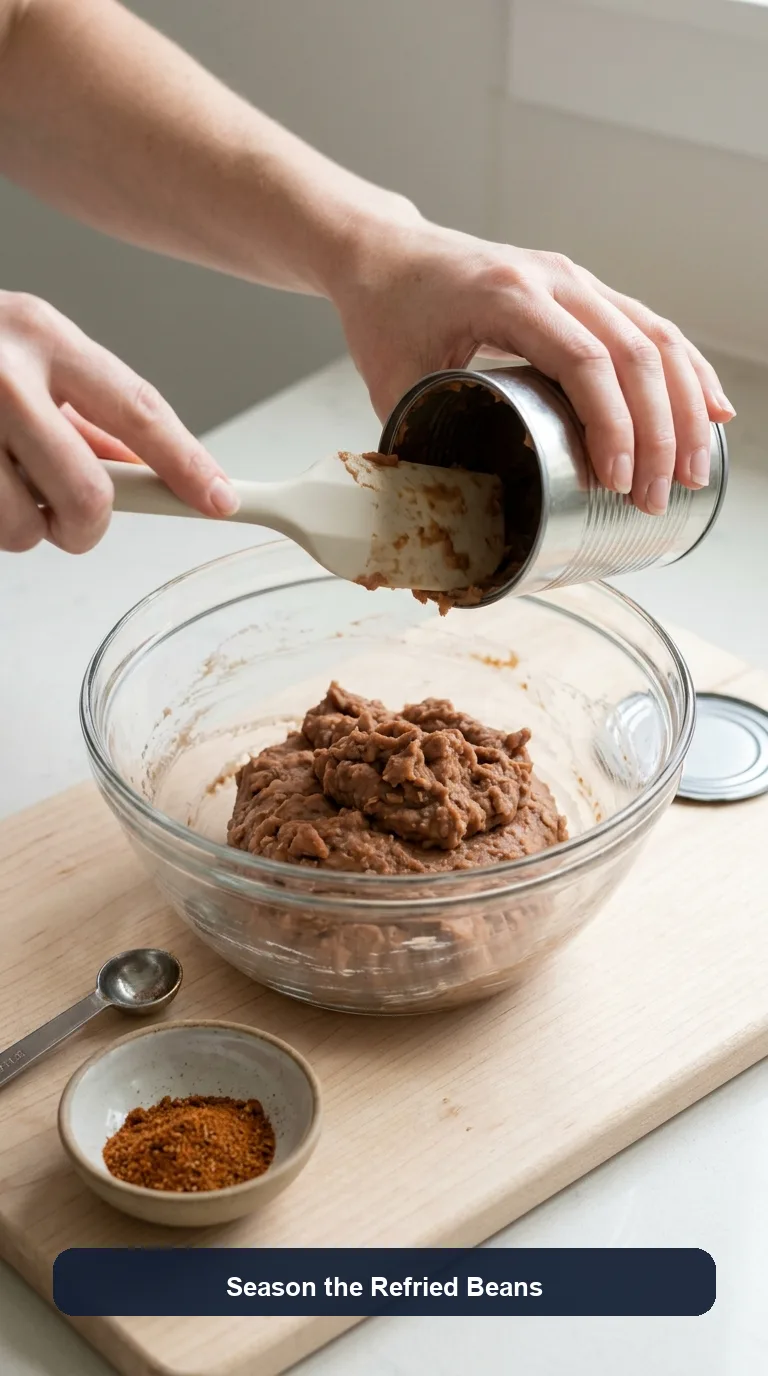
Step 2: Season the Refried Beans.
Add 1 can (16 oz / 454 g) refried beans, ready to use, to a medium mixing bowl. Measure 1 tablespoon (8 g) taco seasoning, mild or medium, from the Ingredients List and add it to the beans. Stir for approximately 1 minute, until the seasoning is evenly distributed and no dry pockets remain. The mixture should be smooth, thick, and spreadable.
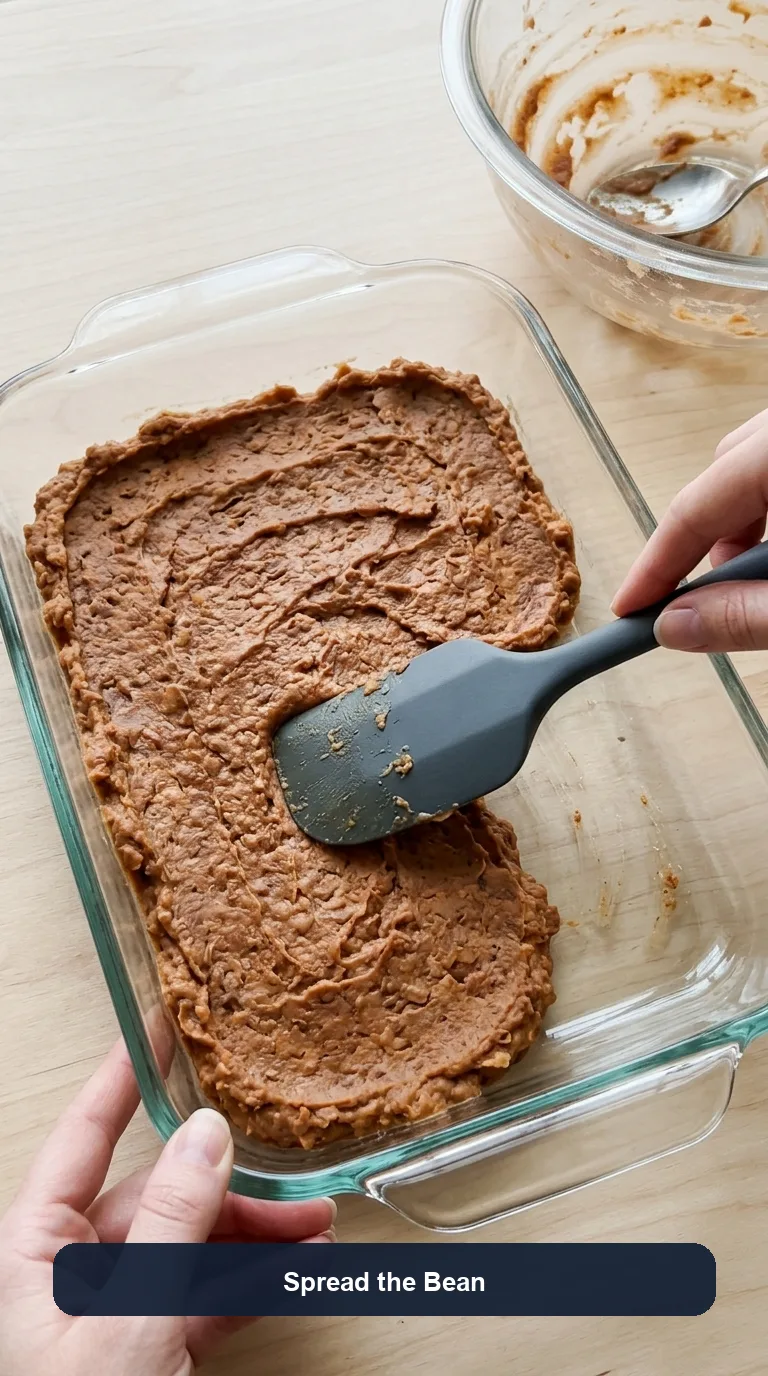
Step 3: Spread the Bean Layer.
Transfer the seasoned beans to the baking dish. Use a silicone spatula or the back of a spoon to spread them into an even layer covering the bottom, approximately 1/4 inch (6 mm) thick. Smooth the surface and press gently into the corners so the base remains level and can support the next layers.
Step 4: Add the Sour Cream.
Spoon 1 cup (240 g) sour cream, full-fat and chilled, over the bean mixture in several small dollops. Spread gently into an even layer, working from the center toward the edges. Use light pressure to keep the beans underneath from mixing into the sour cream. The surface should appear smooth and mostly white, with the bean layer still visible along the sides.
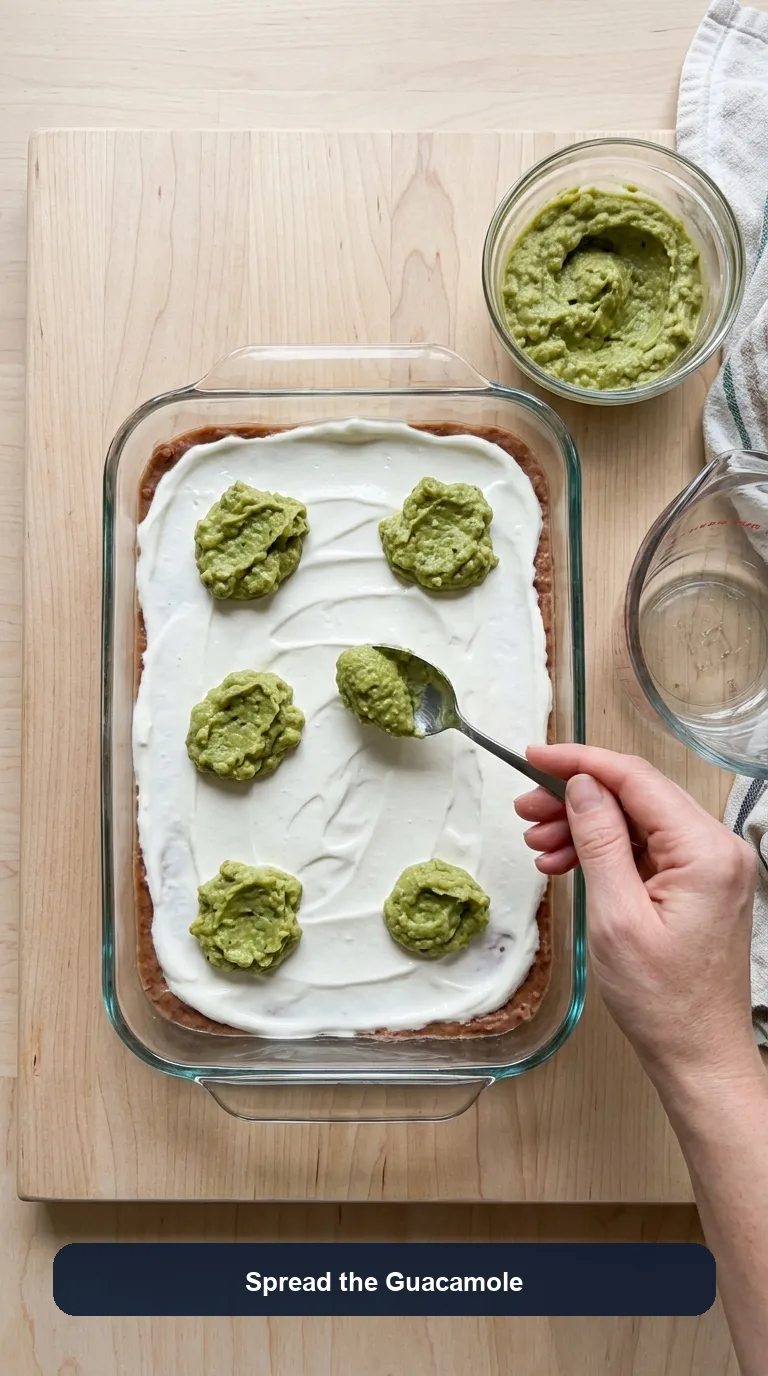
Step 5: Spread the Guacamole.
Place 1 cup (225 g) prepared guacamole, thick and chilled, over the sour cream in small spoonfuls. Carefully connect the spoonfuls with a spatula rather than pressing down firmly. Continue until the sour cream is covered with an even green layer. Gentle spreading preserves the contrast between the two creamy layers.
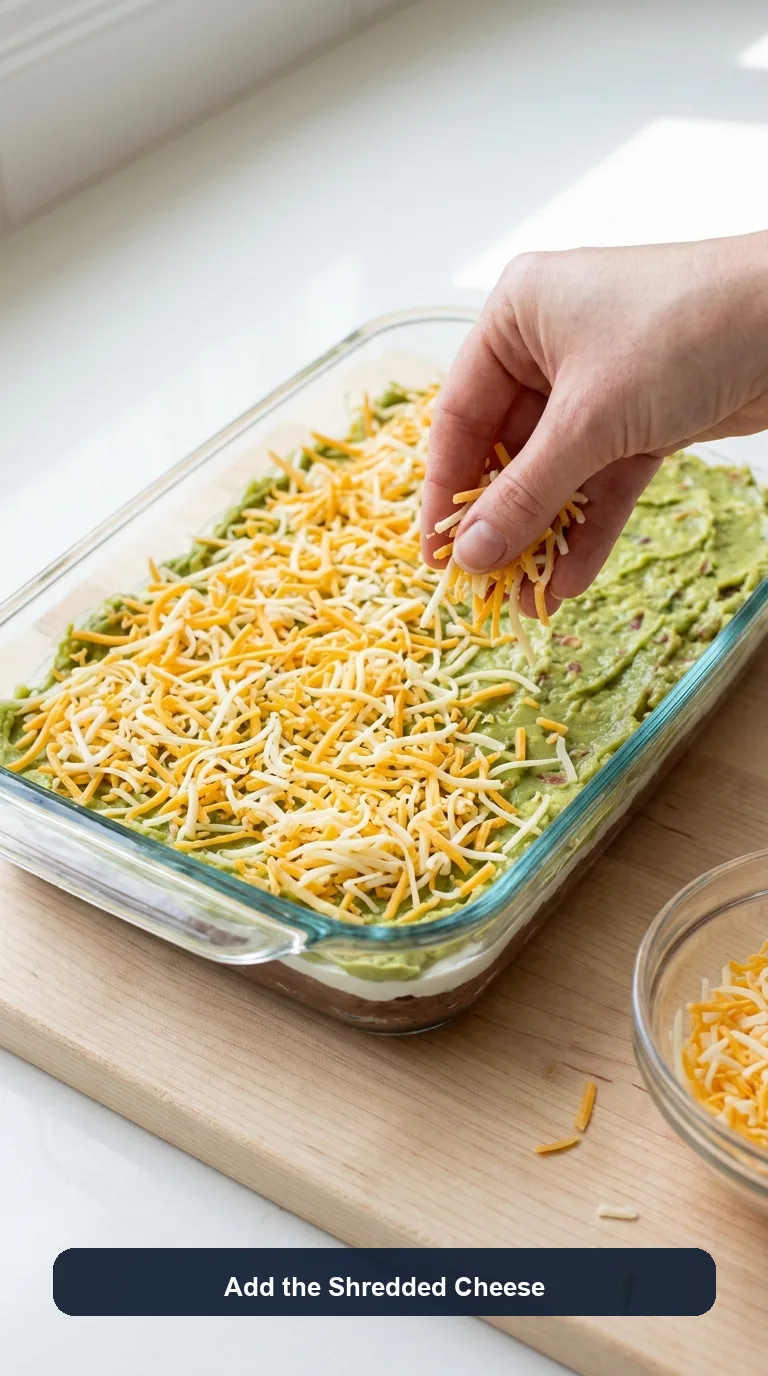
Step 6: Add the Shredded Cheese.
Scatter 2 cups (226 g) shredded Mexican-style cheese blend, freshly shredded or packaged, evenly over the guacamole. Distribute the cheese all the way to the edges without pressing it into the avocado mixture. The surface should be covered with loose shreds that remain distinct, creating a lightly textured layer.
Step 7: Add the Fresh Toppings.
Measure 1 cup (150 g) Roma tomatoes, seeded, finely diced, and drained, as listed in the Ingredients List, and scatter them evenly over the cheese. Measure 1/2 cup (65 g) sliced black olives, thoroughly drained, and distribute them over the tomatoes in a separate layer. Finish with 1/2 cup (50 g) green onions, thinly sliced, scattered evenly over the olives as the final layer. The toppings should look evenly distributed, with no visible pools of liquid.
Step 8: Chill and Serve.
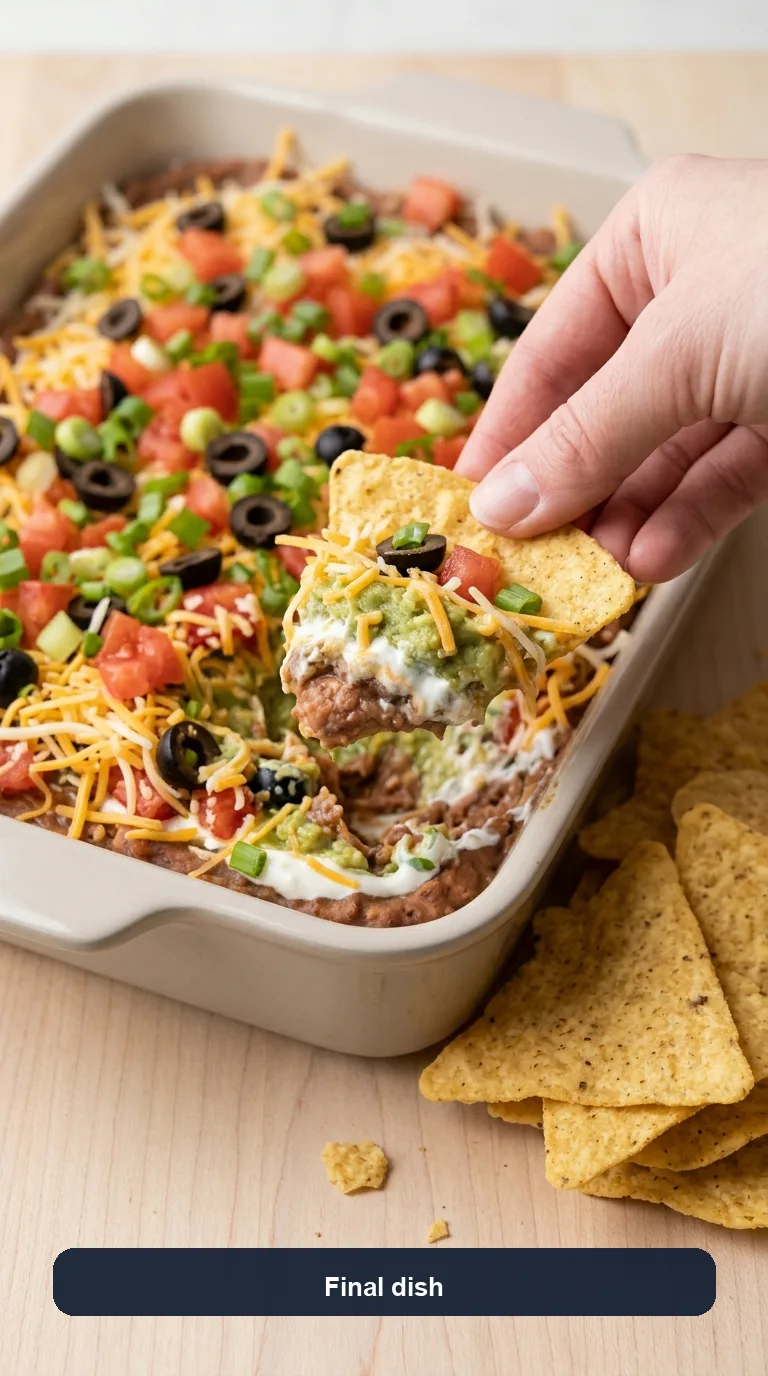
Cover the assembled dish without pressing the covering into the toppings. Refrigerate at 40°F (4°C) or below for 30 minutes so the layers become firmer and easier to scoop. Remove the covering. Arrange 8 oz (227 g) sturdy corn tortilla chips, ready to serve, alongside the chilled dip. The finished dip should show distinct layers along the sides, with a thick base and fresh-looking toppings.
Storage, Freezing, and Make-Ahead Instructions
- Refrigerator: Store leftover 7 layer taco dip in a covered, airtight container or tightly covered baking dish at 40°F (4°C) or below. For the best avocado color and topping texture, consume within 2 days. The guacamole may darken through oxidation, and the tomatoes can release moisture during storage. Refrigerate leftovers promptly and discard dip left at room temperature for more than 2 hours, or more than 1 hour when temperatures exceed 90°F (32°C).
- Freezer: Freezing the assembled dip is not recommended. Sour cream can separate when thawed, guacamole can develop a watery texture, and fresh tomatoes and green onions lose their crispness as ice crystals damage their cell structure. The resulting moisture can cause the layers to collapse, so refrigeration is the better storage method.
- Make-Ahead and Reheating: The seasoned bean layer and shredded cheese can be prepared 1 day ahead and refrigerated separately at 40°F (4°C) or below. Assemble the dip closer to serving time, adding the drained tomatoes, olives, and green onions last for the freshest texture. Refrigerate the finished dip for 30 minutes before serving. Reheating is not necessary because this dip is intended to be eaten cold, and heating would cause the sour cream and guacamole to lose their intended consistency.
FAQ
Can you make 7 layer taco dip the night before?
Yes, but for the freshest texture, prepare the components separately and finish assembling closer to serving time. If assembled overnight, keep the dip tightly covered at 40°F (4°C) or below, and expect some avocado browning and moisture release from the toppings.
What is the correct order for a 7 layer taco dip?
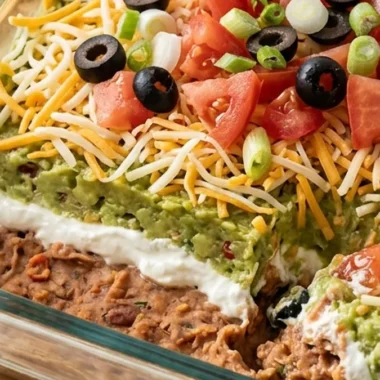
For this recipe, the layers are seasoned refried beans, sour cream, guacamole, shredded cheese, diced tomatoes, sliced black olives, and green onions. Keeping the thickest layer on the bottom provides a stable base, while the lighter fresh toppings remain on top.
How do you keep 7 layer taco dip from getting watery?
Use the Roma tomatoes seeded, finely diced, and drained, along with thoroughly drained sliced black olives, as specified in the Ingredients List. Keep the assembled dip refrigerated so the creamy layers maintain their consistency.
Do you need to heat the refried beans for 7 layer taco dip?
No, commercially prepared canned refried beans are already cooked and can be used directly in this cold dip. Stir them thoroughly with the taco seasoning until smooth and spreadable so they form an even base.
7 Layer Taco Dip
Ingredients
For the Seasoned Bean Layer
- 1 can (16 oz / 454 g) refried beans ready to use
- 1 tablespoon (8 g) taco seasoning mild or medium
For the Creamy Layers
- 1 cup (240 g) sour cream full-fat and chilled
- 1 cup (225 g) prepared guacamole thick and chilled
For the Cheese and Fresh Toppings
- 2 cups (226 g) shredded Mexican-style cheese blend freshly shredded or packaged
- 1 cup (150 g) Roma tomatoes seeded, finely diced, and drained
- 1/2 cup (65 g) sliced black olives thoroughly drained
- 1/2 cup (50 g) green onions thinly sliced
For Serving
- 8 oz (227 g) sturdy corn tortilla chips ready to serve
Instructions
Method
- Place a clean, dry 9 x 13-inch (23 x 33 cm) baking dish on a flat work surface. Keep the sour cream and guacamole refrigerated until needed so their thicker, chilled consistency makes the layers easier to spread. The dish should be completely dry before assembly to prevent excess moisture beneath the bean layer.
- Add 1 can (16 oz / 454 g) refried beans, ready to use, to a medium mixing bowl. Measure 1 tablespoon (8 g) taco seasoning, mild or medium, from the Ingredients List and add it to the beans. Stir for approximately 1 minute, until the seasoning is evenly distributed and no dry pockets remain. The mixture should be smooth, thick, and spreadable.
- Transfer the seasoned beans to the baking dish: Use a silicone spatula or the back of a spoon to spread them into an even layer covering the bottom, approximately 1/4 inch (6 mm) thick. Smooth the surface and press gently into the corners so the base remains level and can support the next layers.
- Spoon 1 cup (240 g) sour cream, full-fat and chilled, over the bean mixture in several small dollops. Spread gently into an even layer, working from the center toward the edges. Use light pressure to keep the beans underneath from mixing into the sour cream. The surface should appear smooth and mostly white, with the bean layer still visible along the sides.
- Place 1 cup (225 g) prepared guacamole, thick and chilled, over the sour cream in small spoonfuls. Carefully connect the spoonfuls with a spatula rather than pressing down firmly. Continue until the sour cream is covered with an even green layer. Gentle spreading preserves the contrast between the two creamy layers.
- Scatter 2 cups (226 g) shredded Mexican-style cheese blend, freshly shredded or packaged, evenly over the guacamole. Distribute the cheese all the way to the edges without pressing it into the avocado mixture. The surface should be covered with loose shreds that remain distinct, creating a lightly textured layer.
- Measure 1 cup (150 g) Roma tomatoes, seeded, finely diced, and drained, as listed in the Ingredients List, and scatter them evenly over the cheese. Measure 1/2 cup (65 g) sliced black olives, thoroughly drained, and distribute them over the tomatoes in a separate layer. Finish with 1/2 cup (50 g) green onions, thinly sliced, scattered evenly over the olives as the final layer. The toppings should look evenly distributed, with no visible pools of liquid.
- Cover the assembled dish without pressing the covering into the toppings. Refrigerate at 40°F (4°C) or below for 30 minutes so the layers become firmer and easier to scoop. Remove the covering. Arrange 8 oz (227 g) sturdy corn tortilla chips, ready to serve, alongside the chilled dip. The finished dip should show distinct layers along the sides, with a thick base and fresh-looking toppings.