The moment you see an Easter Jell-O Pie, your senses go wild. The vibrant colors dance like confetti at a parade, and the sweet aroma invites you closer. Just imagine cutting into that luscious layer of gelatin goodness, revealing a beautifully swirled masterpiece that screams “party!” This delightful dessert isn’t just eye candy; it’s an explosion of flavors that everyone will love. Whether you’re hosting a brunch or just want to impress your family with something unique, this pie is the way to go.
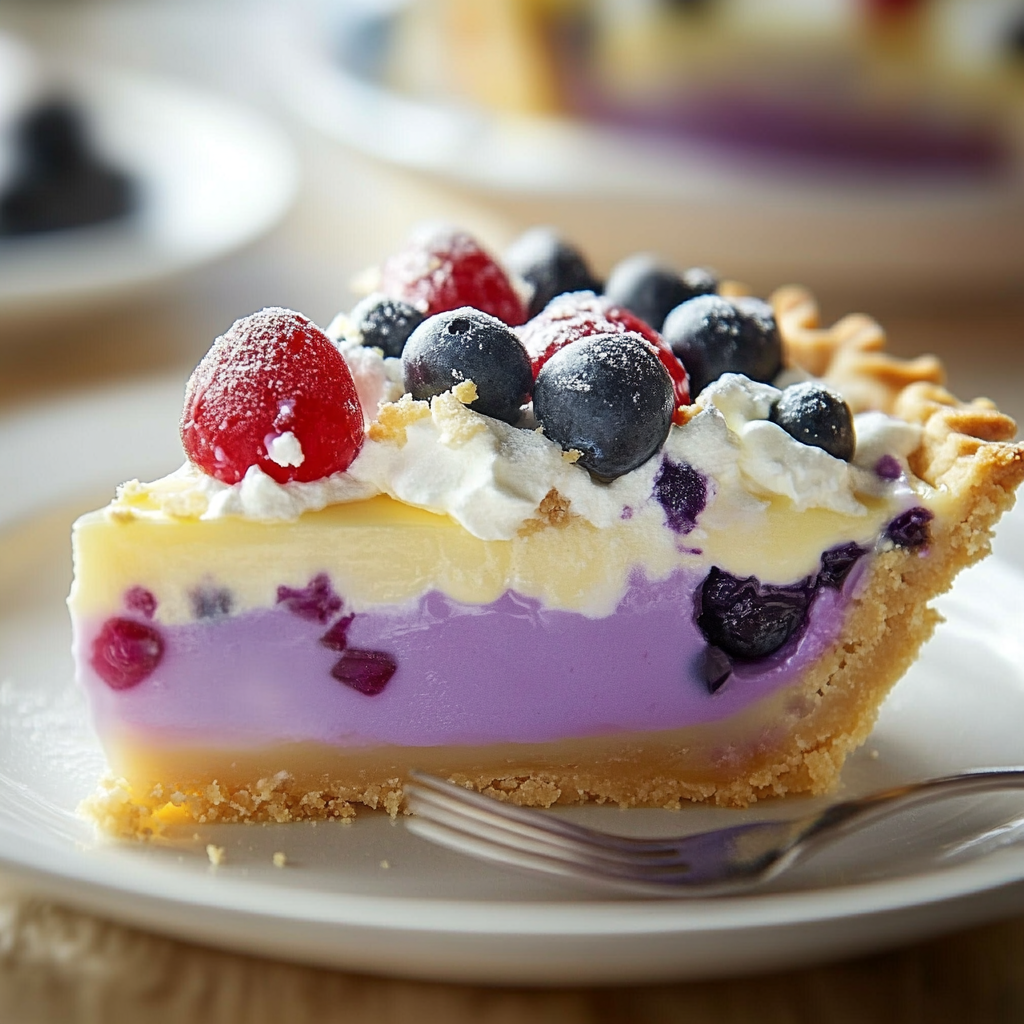
As a kid, I remember my grandma whipping up this magical creation every spring. It was like she had her own secret recipe book filled with sunshine and joy! Watching the layers come together was like witnessing a rainbow form after a storm. Every slice brought back those memories of laughter and sweet tooth satisfaction. So let’s dive into this deliciously nostalgic recipe that’s perfect for any Easter celebration!
Why You'll Love This Recipe
- This stunning dessert combines vibrant colors with refreshing flavors for an unforgettable treat
- Its simplicity makes it perfect for bakers of all skill levels
- The visual appeal is sure to impress guests at any gathering
- Plus, it’s versatile enough to customize with your favorite fruity flavors!
I still recall my kids’ excited faces when they first tried this pie; their smiles were priceless!
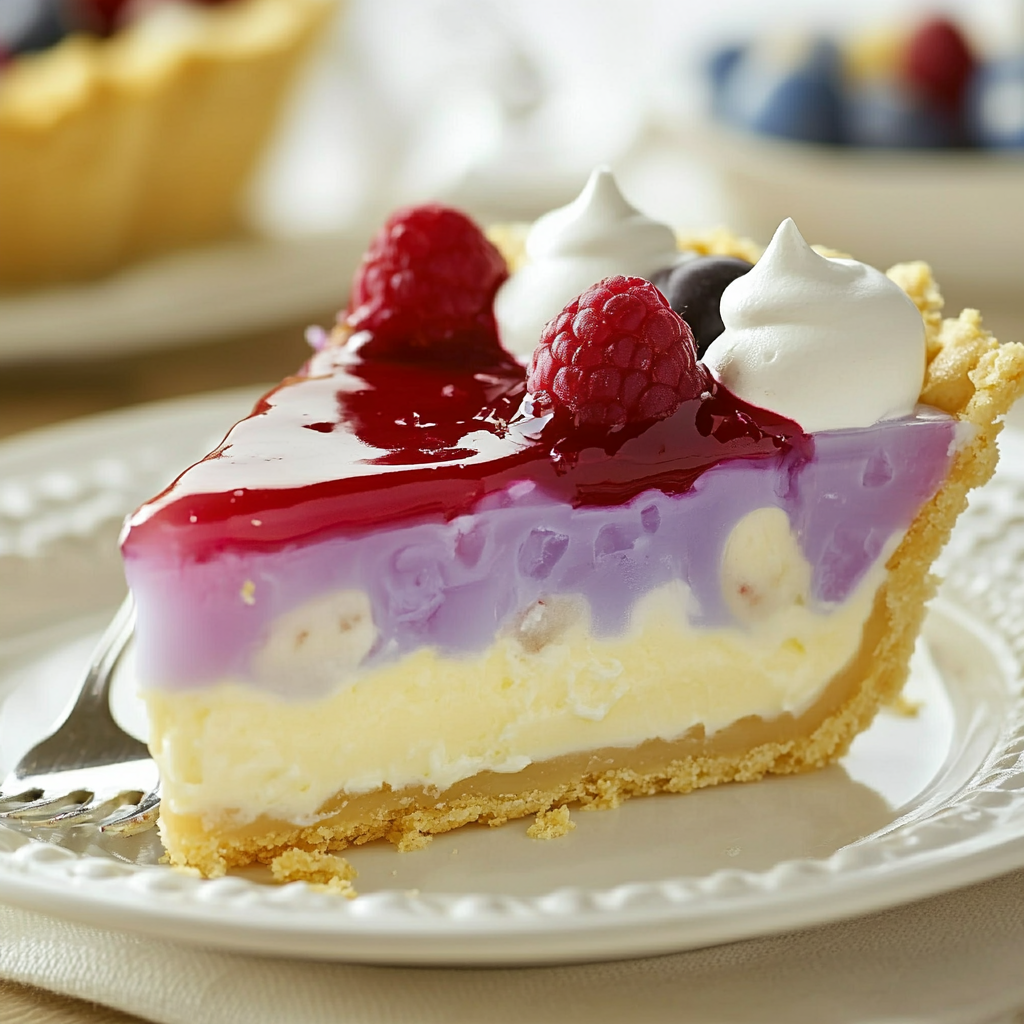
Essential Ingredients
Here’s what you’ll need to make this delicious dish:
- Jell-O Gelatin Mix: Pick your favorite flavors; the brighter the color, the more festive your pie will be.
- Boiling Water: This helps dissolve the gelatin completely for a smooth texture.
- Cold Water: Using cold water is essential for setting the layers perfectly.
- Whipped Topping: I recommend using whipped cream or Cool Whip for that airy texture.
- Pie Crust: A pre-made graham cracker crust works great and saves time!
- Fresh Fruit (optional): Strawberries or blueberries add a fresh twist and look fabulous in your pie.
The full ingredients list, including measurements, is provided in the recipe card directly below.
Let’s Make it Together
Prepare Your Layered Base: Start by boiling 1 cup of water in a saucepan. Once boiling, remove from heat and mix in one package of your chosen Jell-O until fully dissolved.
Add Cold Water: Stir in 1 cup of cold water into your gelatin mixture. Let it cool slightly before pouring into the crust to prevent sogginess.
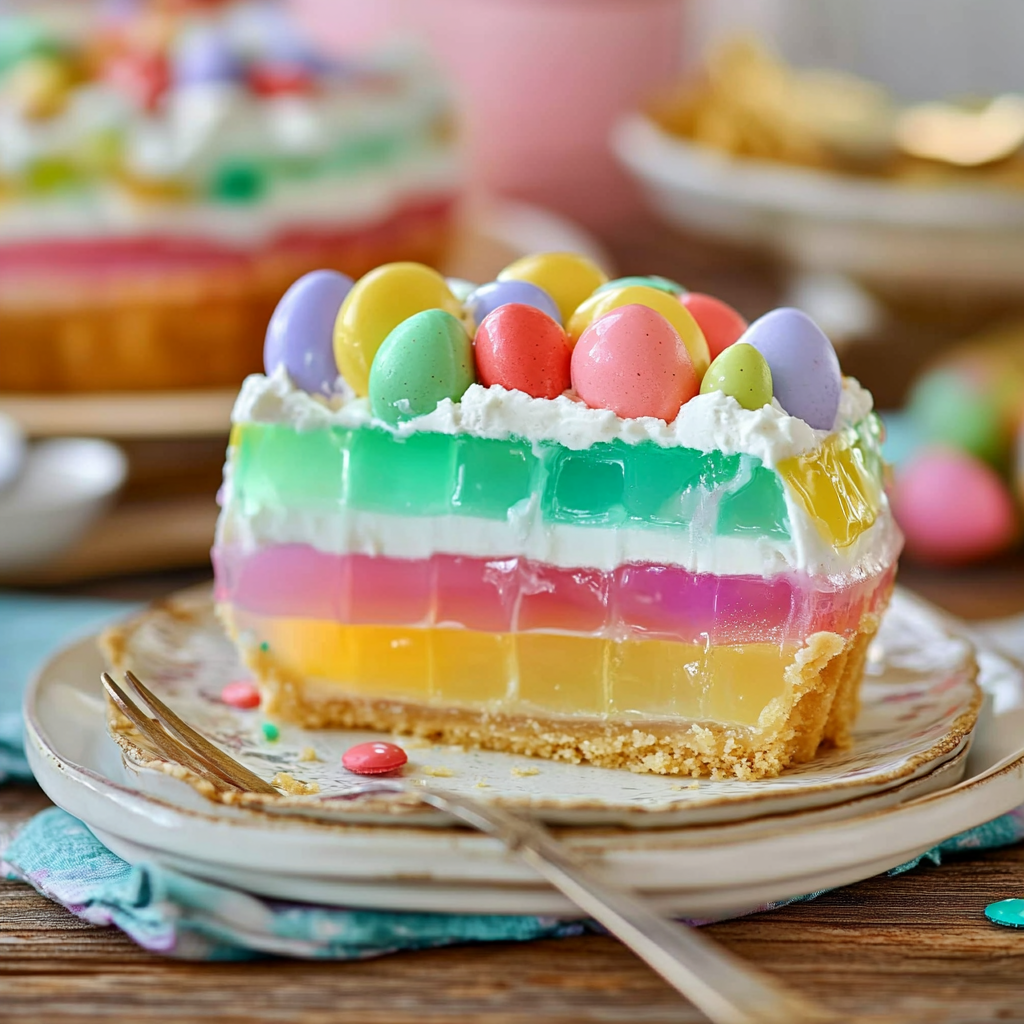
Create Colorful Layers: Pour half of the gelatin mixture into the crust and refrigerate for about 30 minutes until set. For added flair, you can sprinkle some fruit on top.
Whip It Good!: While waiting for the first layer to set, prepare your whipped topping in a bowl. Fold it gently until smooth; this will be added later for that creamy layer.
Finish with More Gelatin: Once the first layer is set, carefully pour in the remaining gelatin mixture over the whipped topping layer. Refrigerate again until fully set—about two hours should do.
Slice and Serve!: When ready to serve, cut slices carefully using a sharp knife dipped in warm water. Enjoy each slice as guests marvel at your culinary artistry!
This Easter Jell-O Pie promises not only to grace your table but also to delight every palate it encounters!
You Must Know
- This delightful Easter Jell-O Pie is not only a visual treat but also a fun dessert that can be customized easily
- Its vibrant colors and creamy layers make it a festive addition to your table, bringing smiles with every bite
Perfecting the Cooking Process
Start by preparing the crust, allowing it to cool while you mix the Jell-O layers. Chill each layer separately for better texture and flavor.
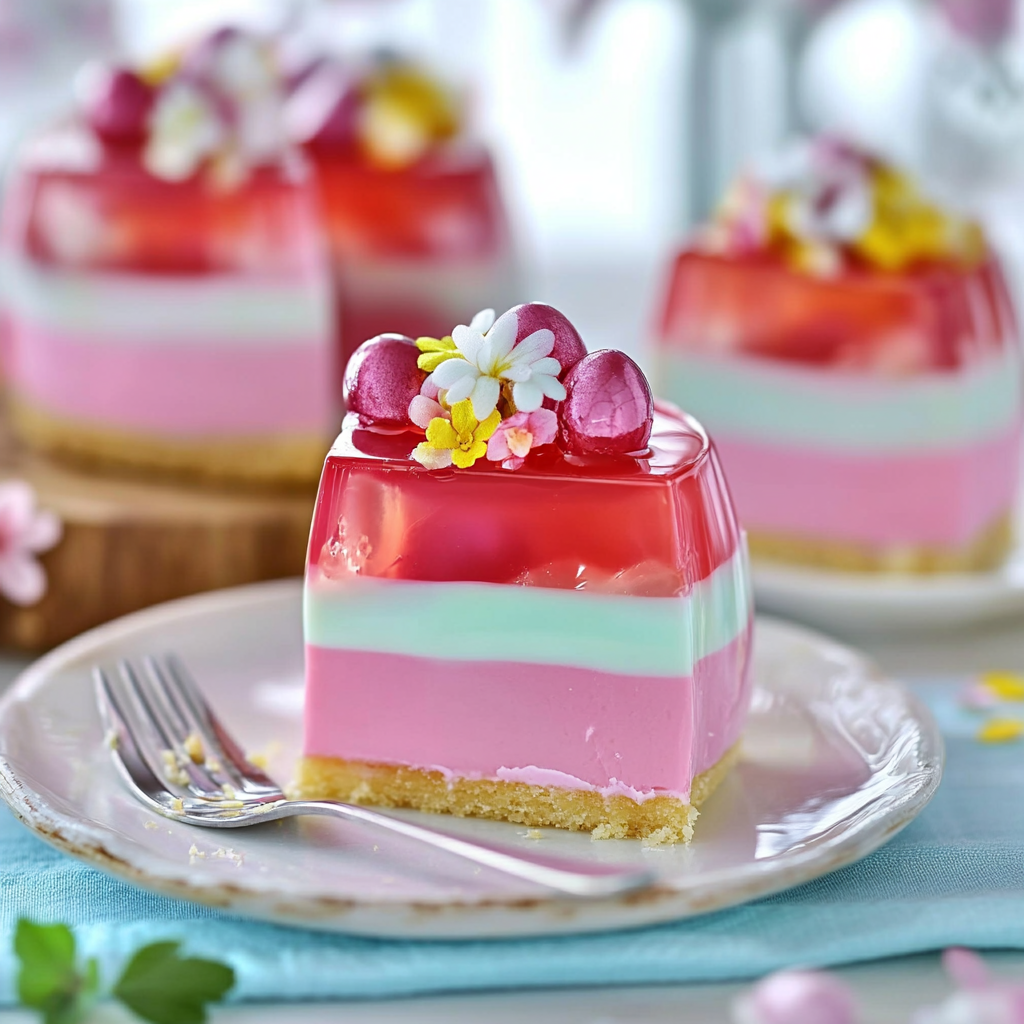
Add Your Touch
Feel free to swap out flavors of Jell-O or add fresh fruit between layers for extra zing. Whipped cream on top gives a perfect finish!
Storing & Reheating
Store the pie in the fridge covered for up to three days. Avoid freezing, as it alters the texture of Jell-O.
Chef's Helpful Tips
- A well-chilled pie makes slicing easier and keeps layers intact
- Use a sharp knife dipped in hot water for clean cuts
- Remember to let each layer set properly to avoid mixing colors!
Creating an Easter Jell-O Pie is always a joyful experience at my family gatherings, especially when everyone fights over who gets the biggest slice!
FAQ
What flavors work best for Easter Jell-O Pie?
Use fruity flavors like strawberry, lime, or blueberry for a festive touch.
Can I use homemade whipped cream?
Absolutely! Homemade whipped cream adds a delightful freshness and taste.
How long does this pie last in the fridge?
The pie stays fresh for about three days when stored properly in the fridge.
Easter Jell-O Pie
Easter Jell-O Pie is a vibrant dessert bursting with fruity flavors, perfect for spring celebrations. This colorful treat will be the highlight of your festive gatherings.
- Prep Time: 20 minutes
- Cook Time: 10 minutes
- Total Time: 30 minutes
- Yield: 8 servings
- Category: Dessert
- Method: No bake
- Cuisine: American
Ingredients
- Jell-O Gelatin Mix (your choice of flavors)
- Boiling Water
- Cold Water
- Whipped Topping (Cool Whip or homemade)
- Pre-made Graham Cracker Pie Crust
- Fresh Fruit (optional, e.g., strawberries or blueberries)
Instructions
- Boil 1 cup of water and dissolve one package of Jell-O in it.
- Stir in 1 cup of cold water and let the mixture cool slightly.
- Pour half the gelatin mixture into the crust and refrigerate for 30 minutes until set.
- While waiting, prepare the whipped topping by folding it until smooth.
- Once the first layer is set, add the whipped topping, then pour in the remaining gelatin. Refrigerate for 2 hours until fully set.
- Slice with a warm, sharp knife and serve.
Nutrition
- Serving Size: 1 serving
- Calories: 160
- Sugar: 22g
- Sodium: 50mg
- Fat: 7g
- Saturated Fat: 4g
- Unsaturated Fat: 2g
- Trans Fat: 0g
- Carbohydrates: 23g
- Fiber: 0g
- Protein: 1g
- Cholesterol: 15mg

